There’s a lot to this project, so I’m going to try to keep it short and sweet 🙂 but I also apologize if it gets lengthy –
The lower bathroom has turned into my favorite room of my house. It almost has all the little quirks and characteristics that I love. I started to tackle this project LAST summer. I’ve been slowly chopping away at since then.
Every story has a beginning, so that’s where I’m going to start.. [again, I’m going to try to keep this short].
The Bathroom:
To start, I love the look of ship lap.
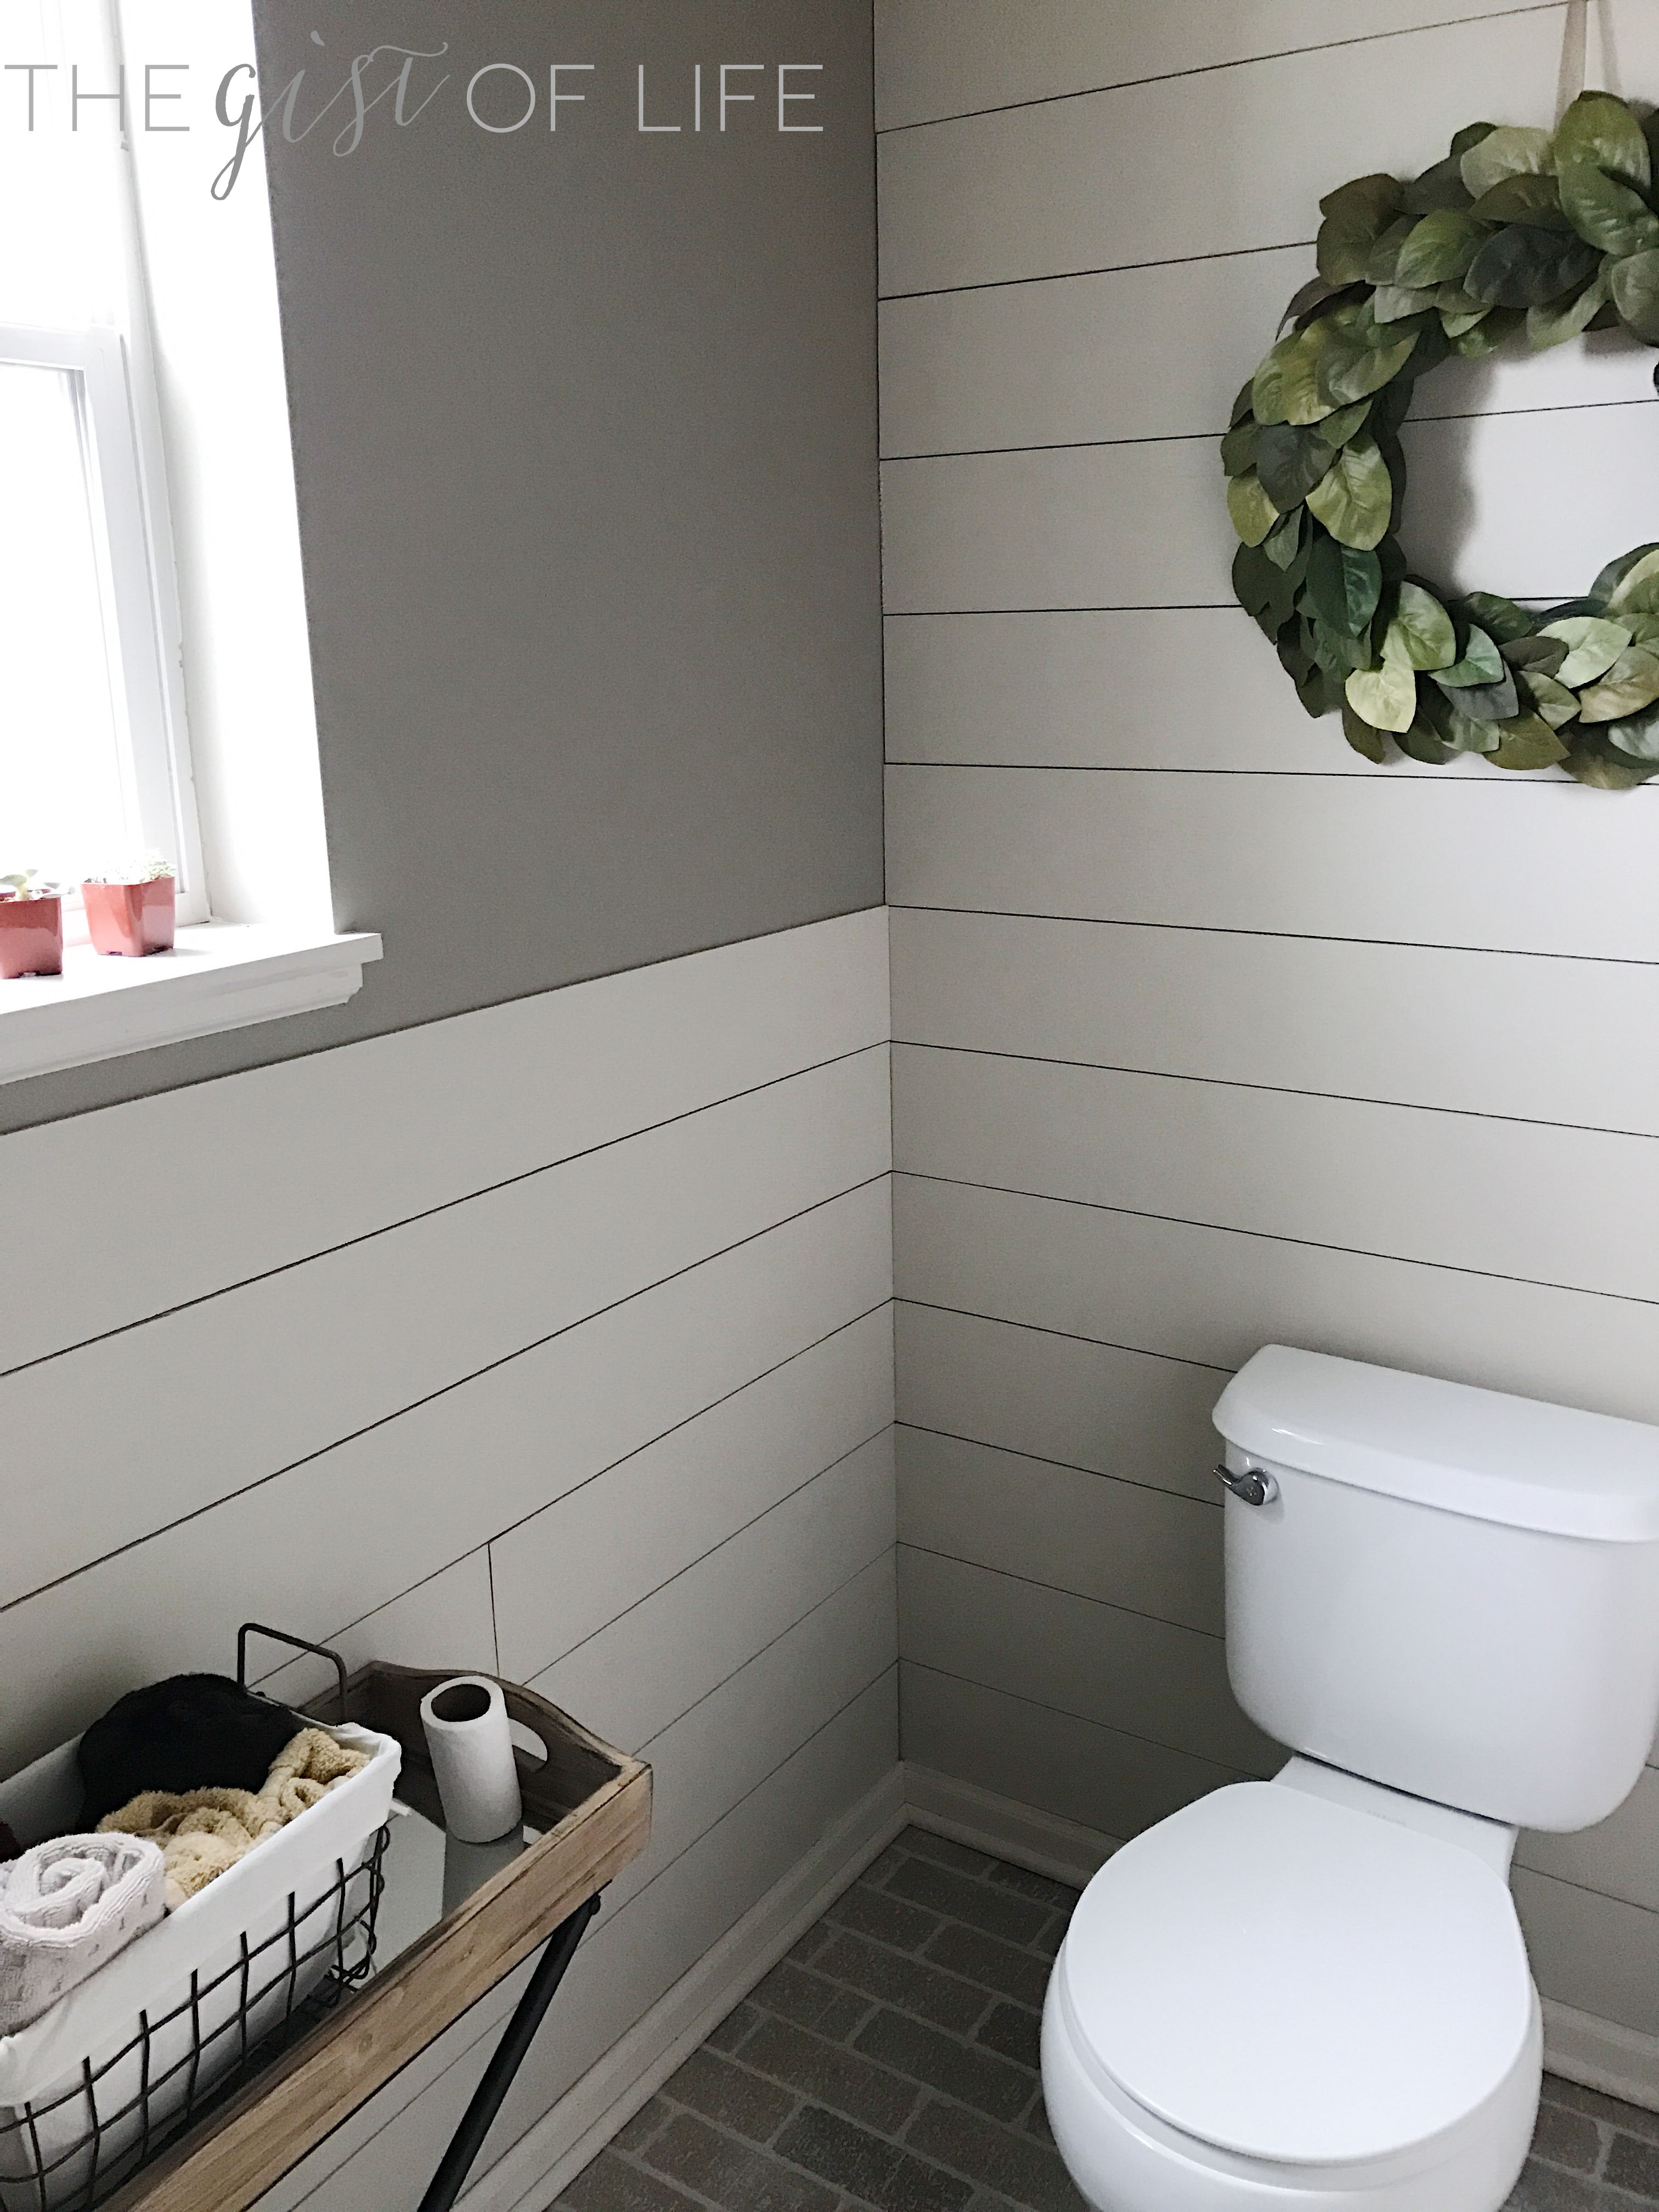
I knew the lower bathroom would be a perfect spot to add a couple accent walls with this feature. As much as I love the look, I didn’t want to go crazy with ship lap in my house; like all trends, there will be a time it will fade.
But I had pinterest-ed enough to know this look was achievable without breaking the bank.
I started at Home Depot…
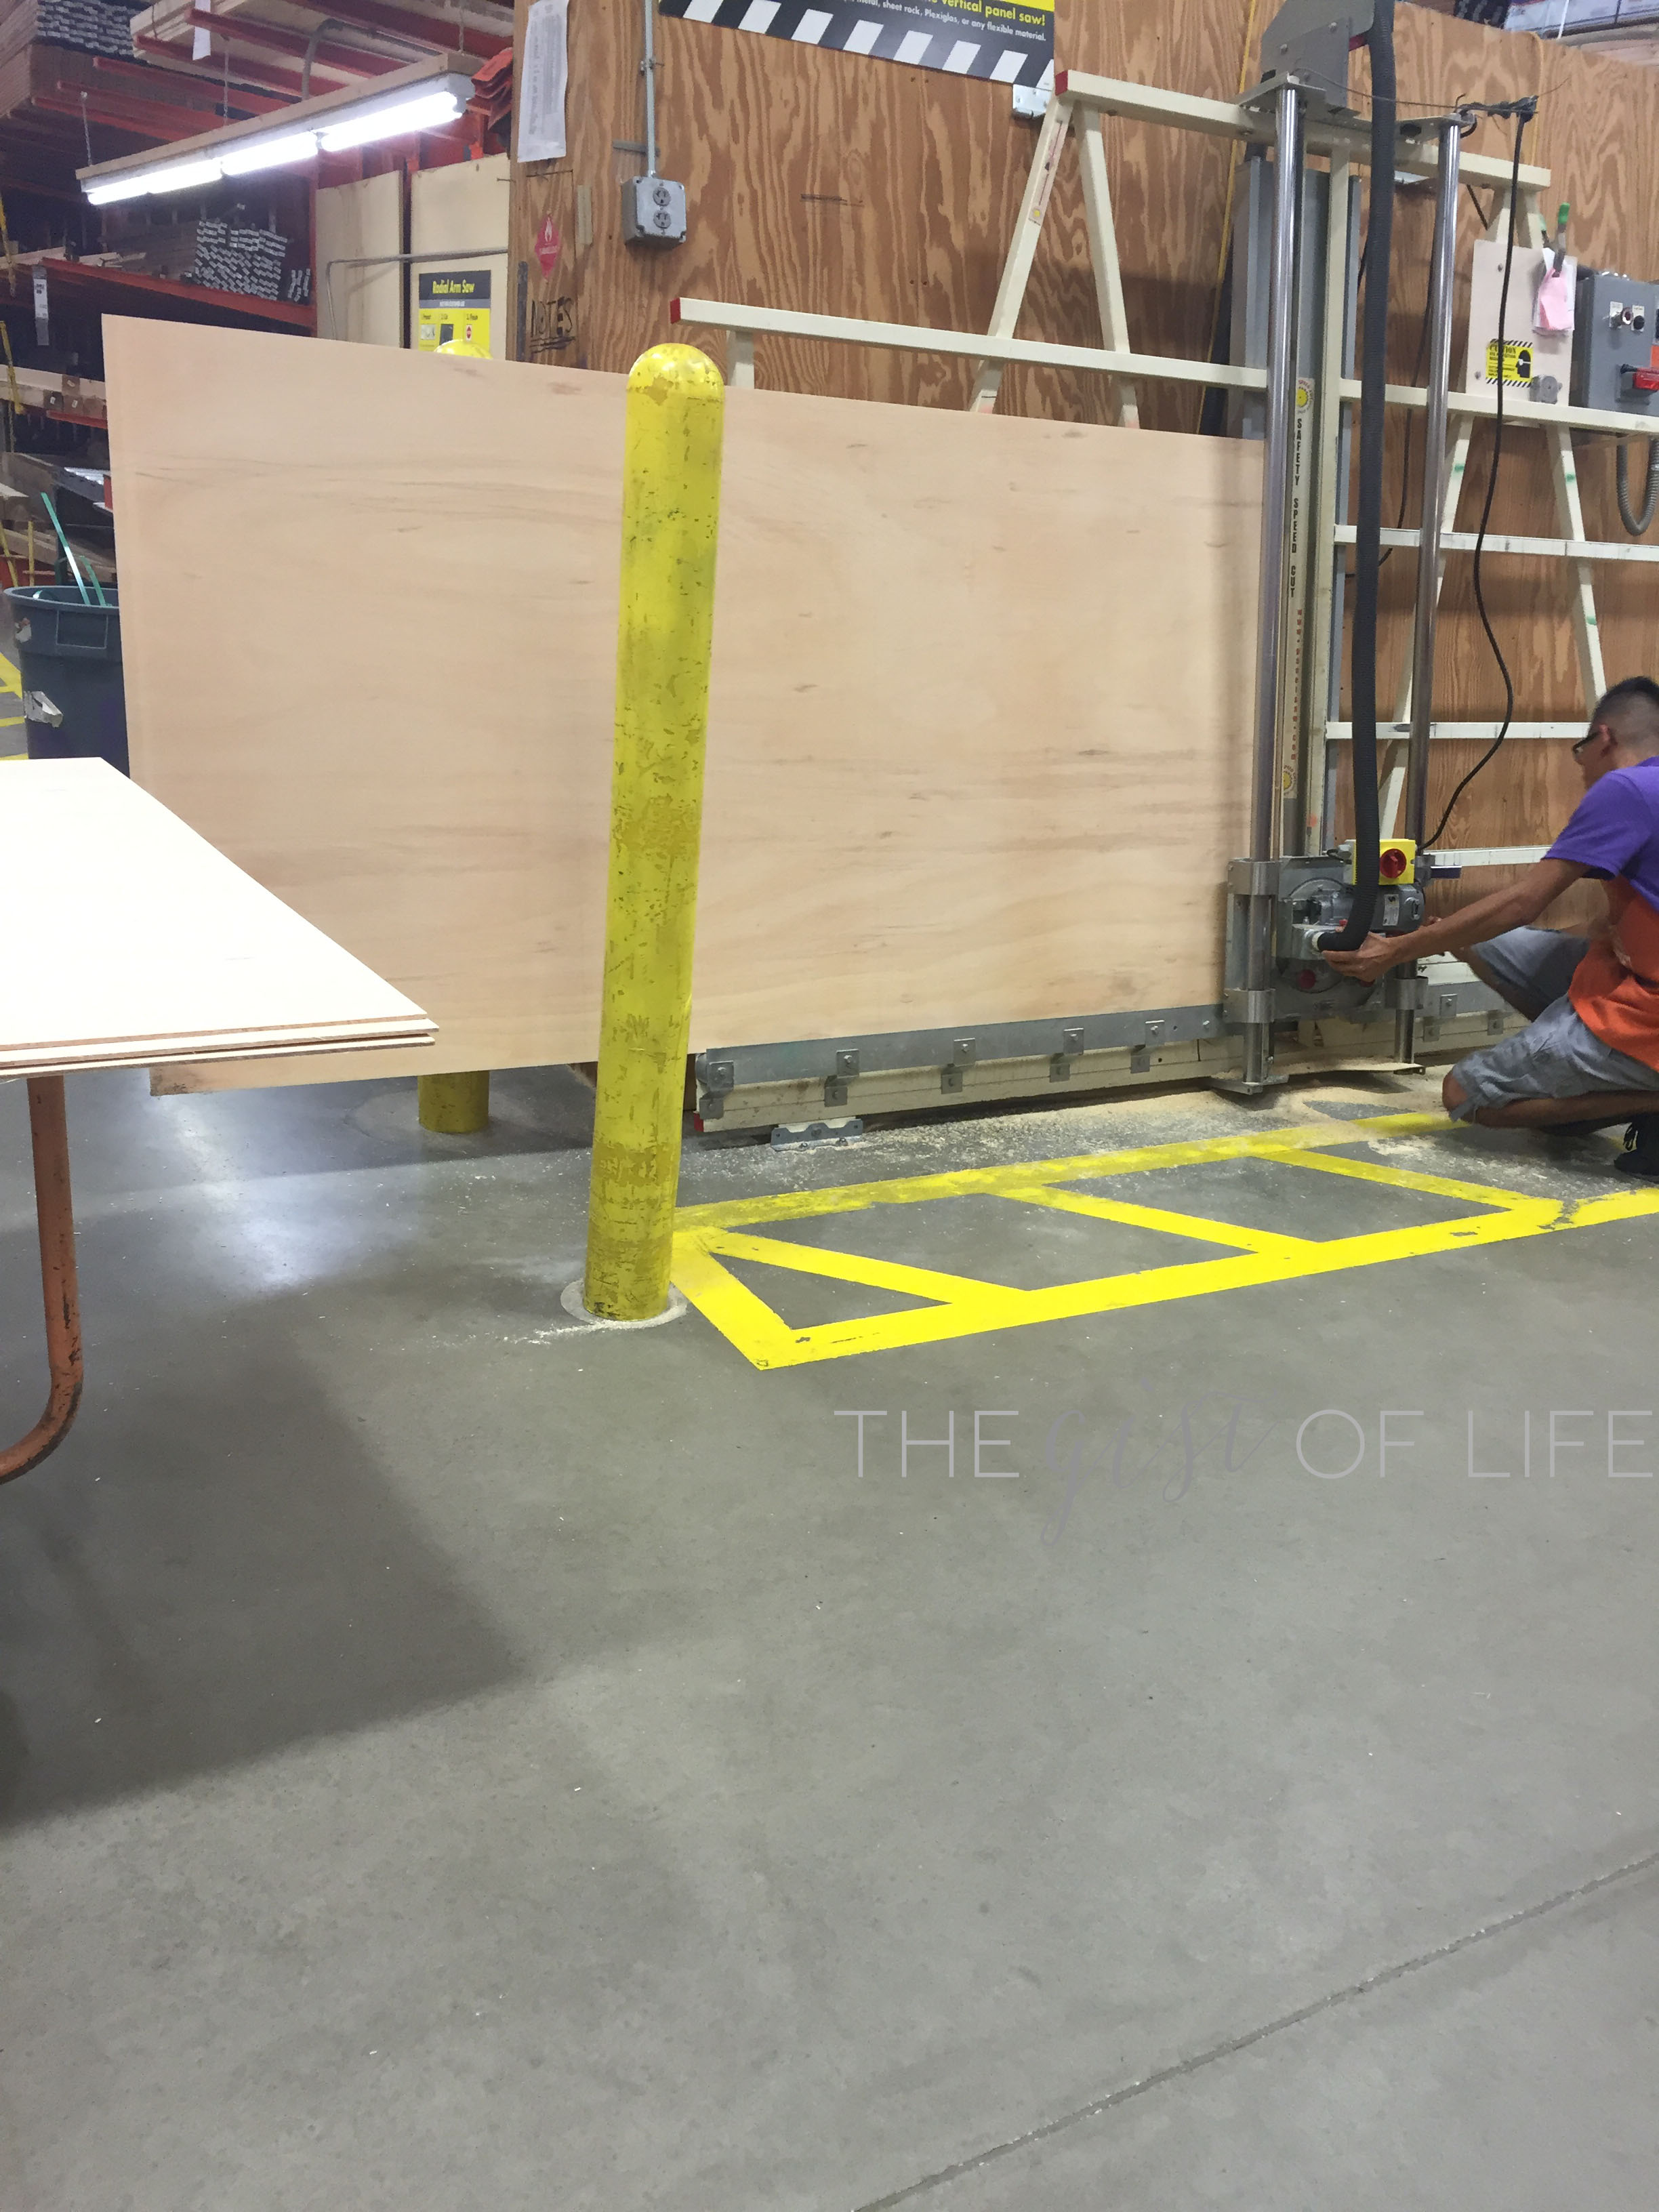
I bought a similar product to these plywood boards & asked a nice, young man to cut them down to six inches slats. I also had a couple more cut down to about three feet in length to fit my back bathroom wall.
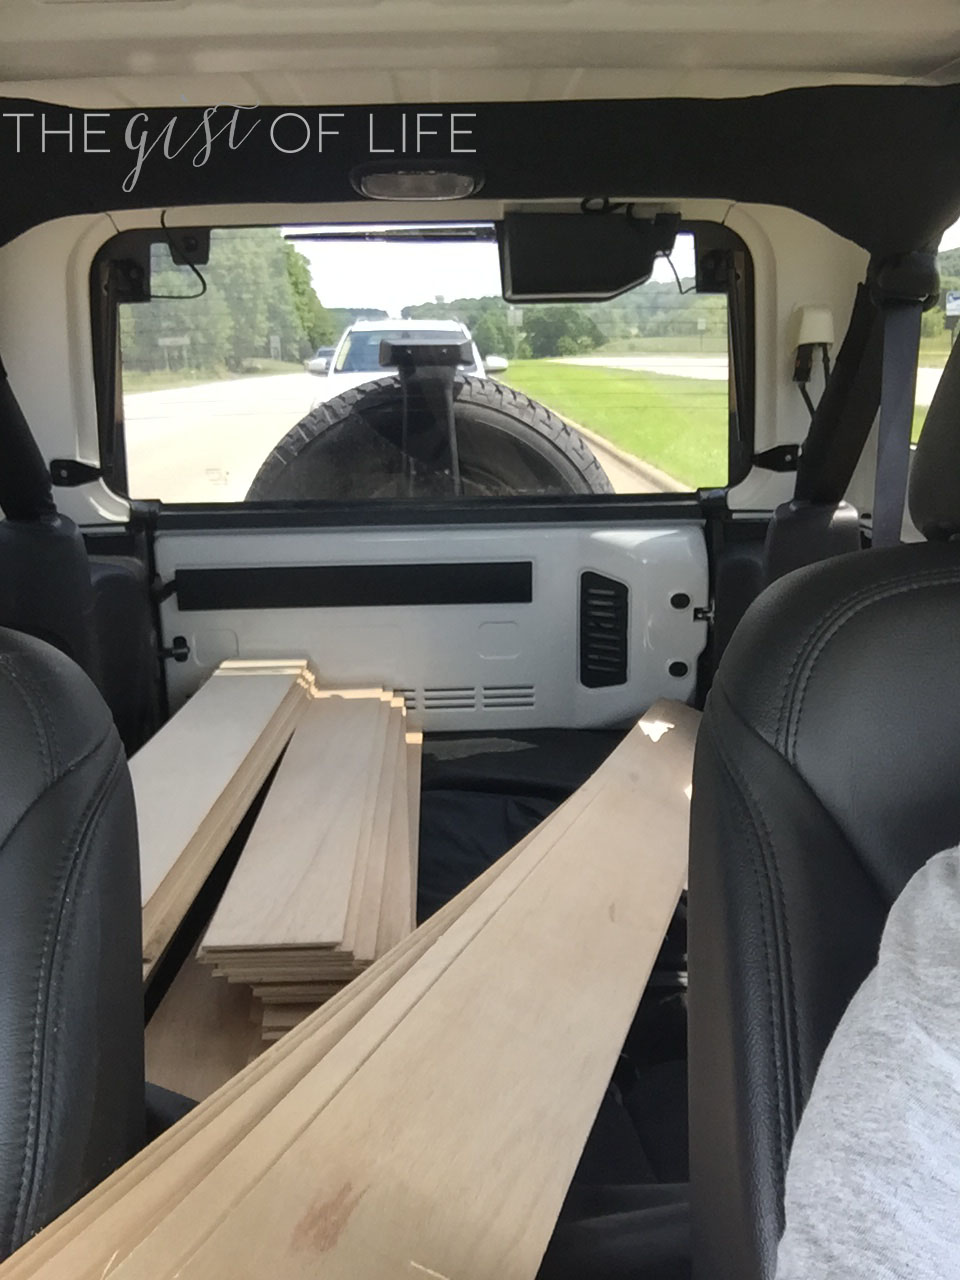
I loaded all my materials in the back of my Jeep Wrangler and headed home to paint!
A lot of the blogs I followed at the time instructed to nail boards to the wall as the next step, using nickels in between each slat as a spacing tool, and then paint, but I went a different direction. I didn’t want to have to worry about paint drips in between each board while they were hanging on the wall, so I decided to lay down some plastic in our unfinished basement and go to town.
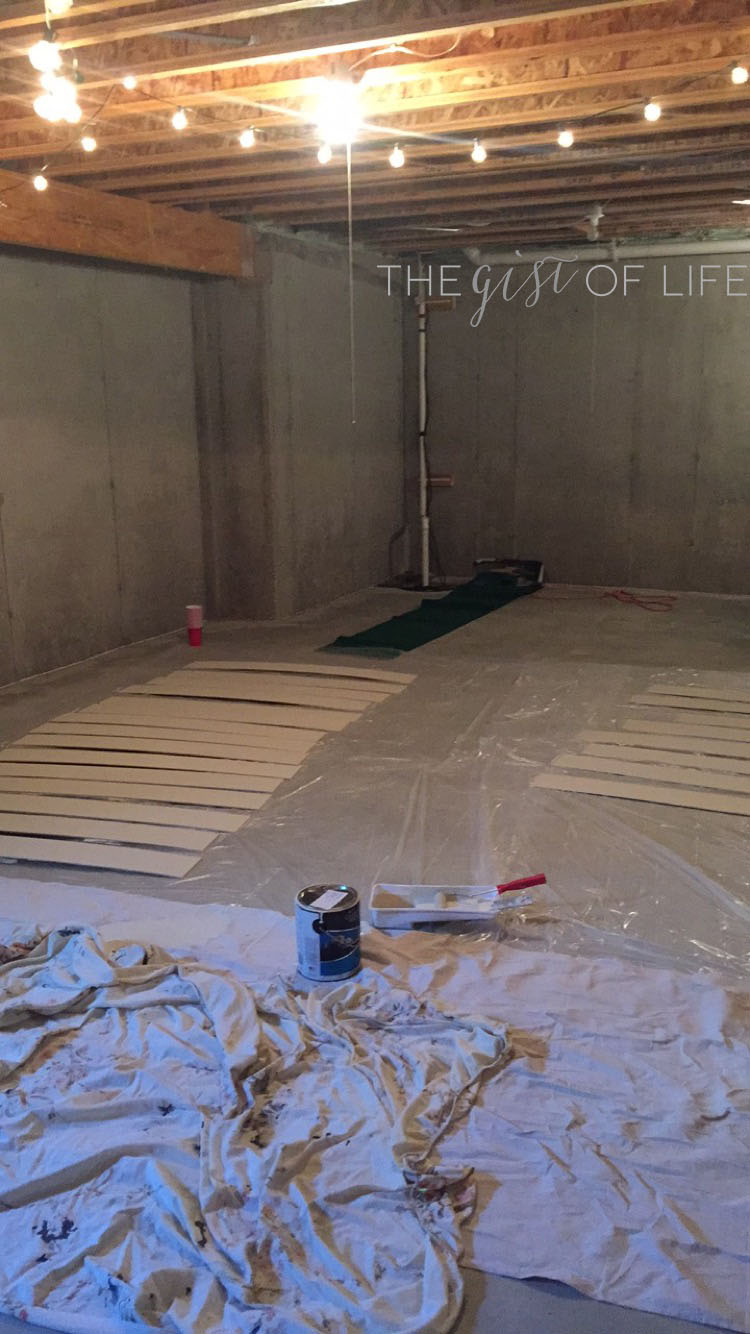
The boards warped a bit while they were drying, but turned out awesome! The paint I used was Clark & Kensington, Inspire Awe in eggshell.
When I was time to start hanging, I’m lucky I have a great father-in-law has the patience and time to help a girl out!
My back wall ended up being a bit uneven, so even though I had the boards cut preciously to the measurements I had made there were still some trimming and cutting that needed to be done…
& slowly, but surely, the ship lap started going up:
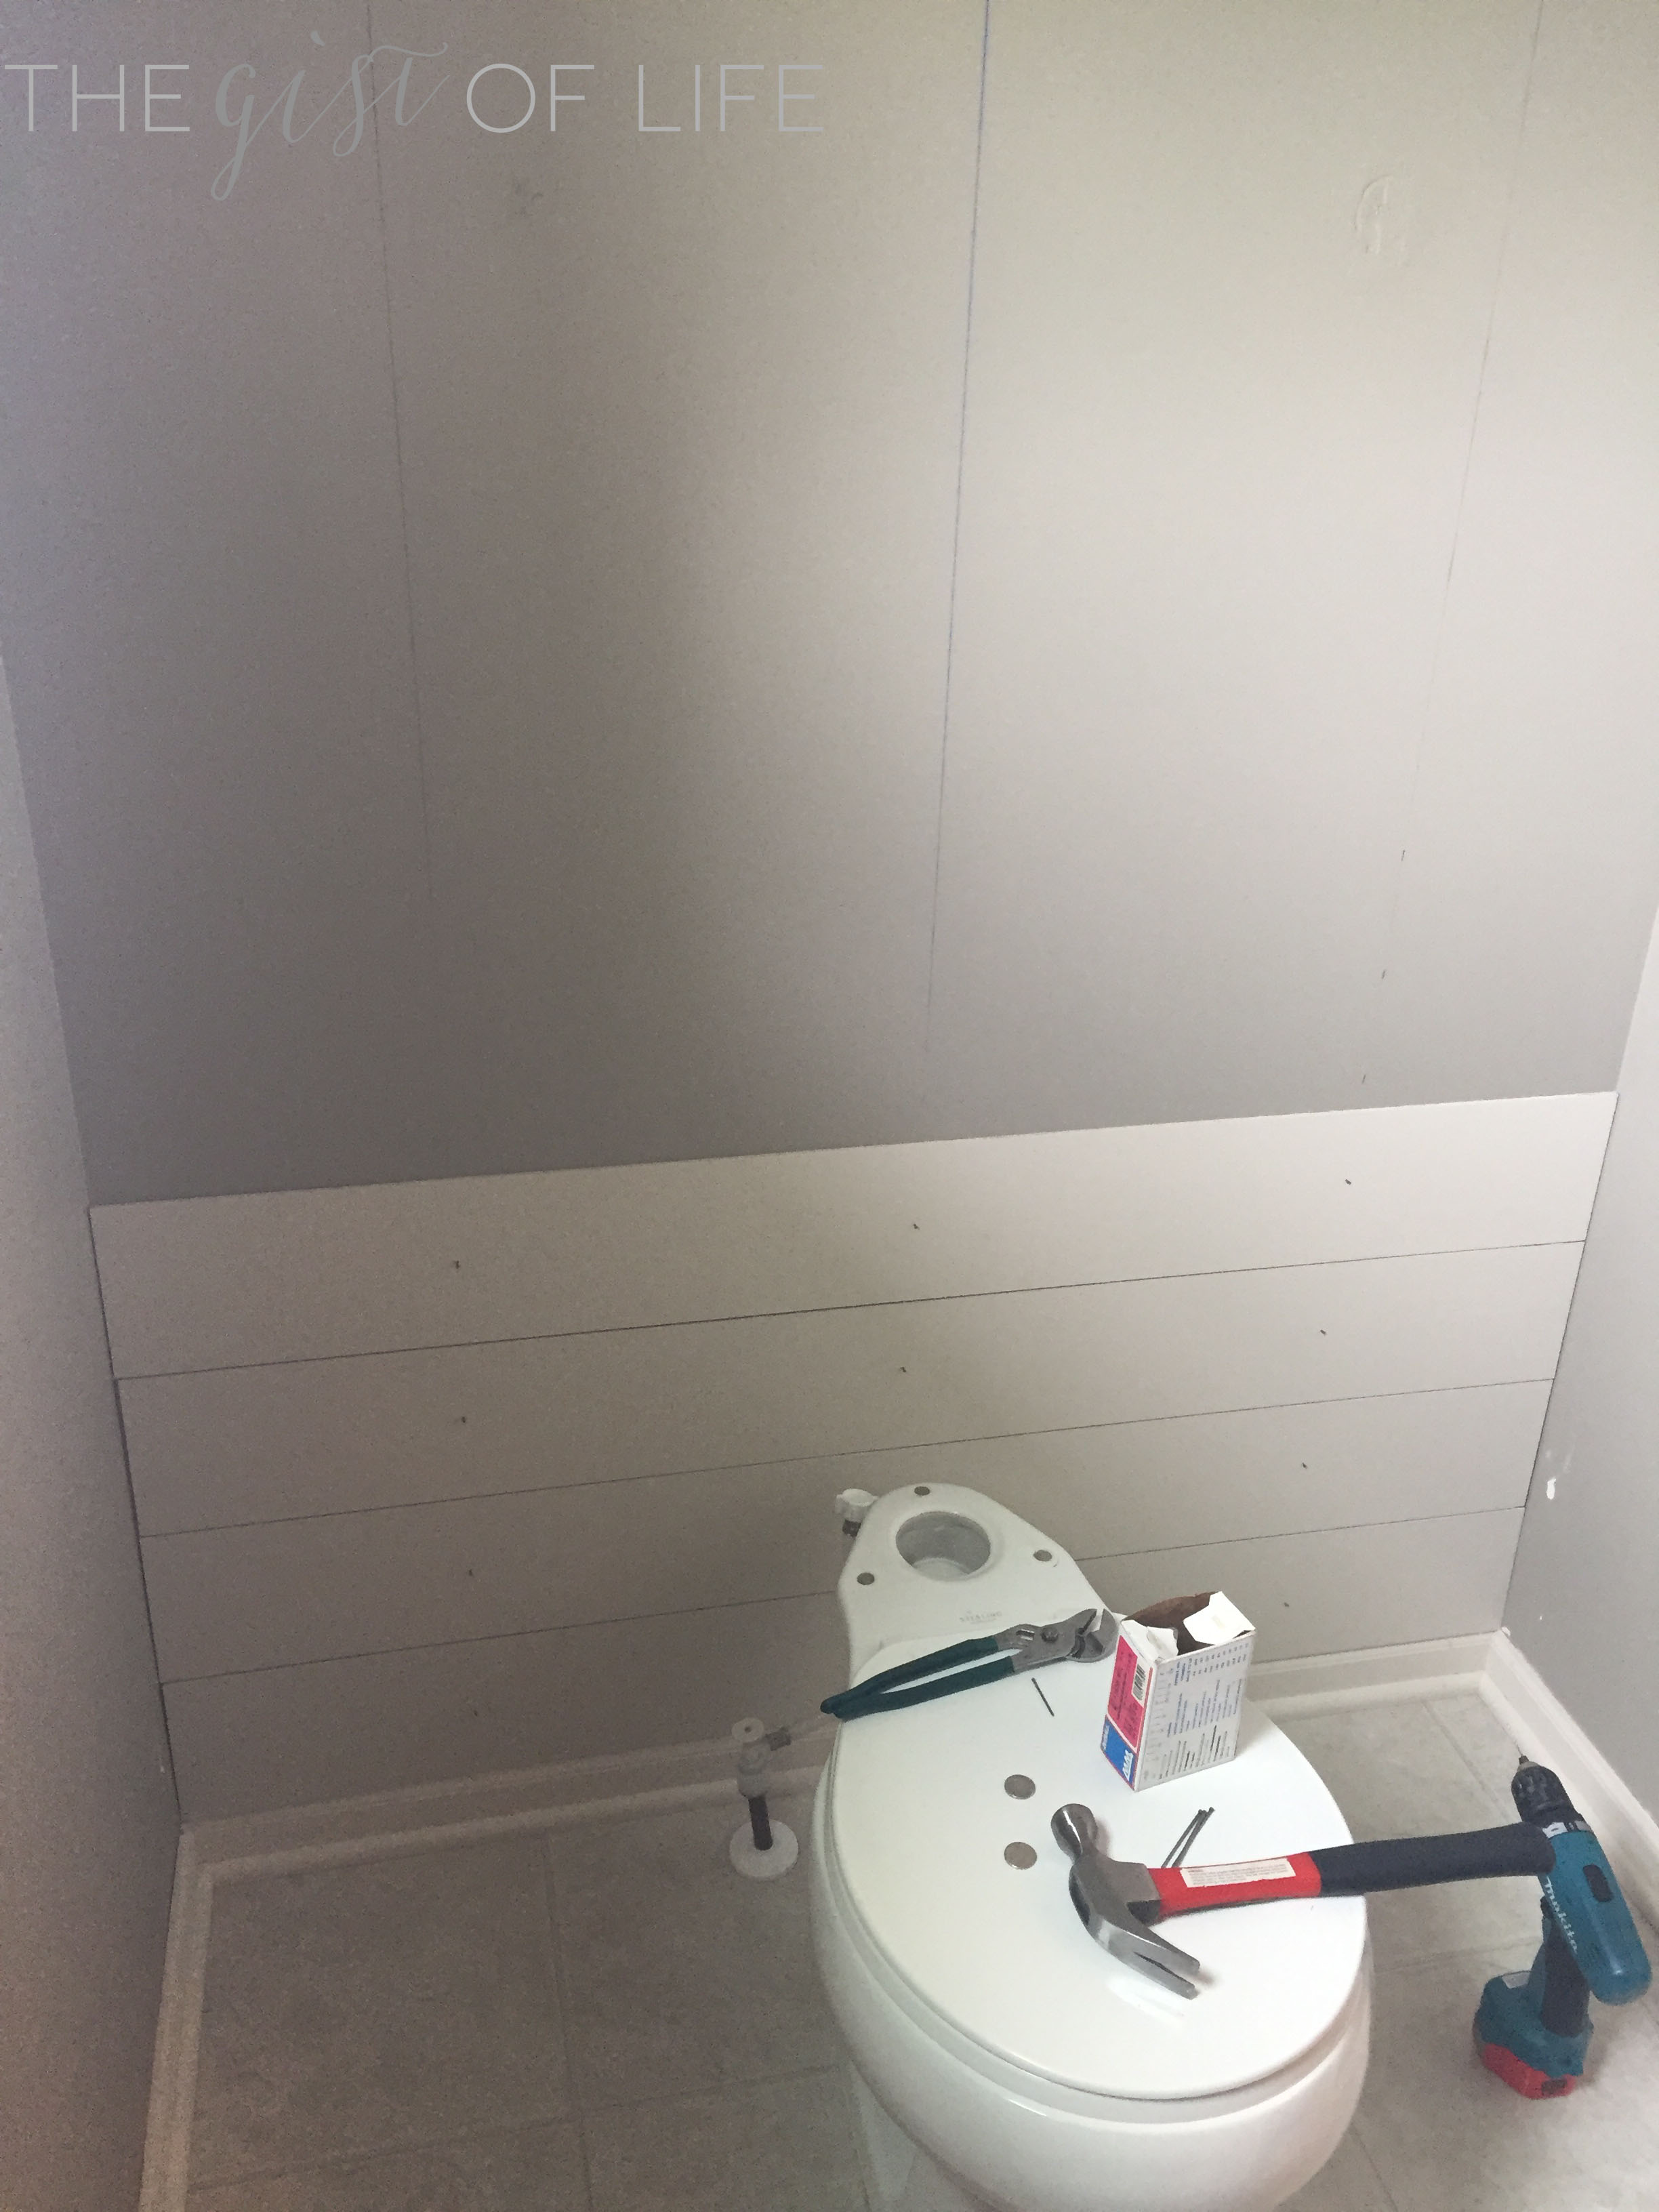
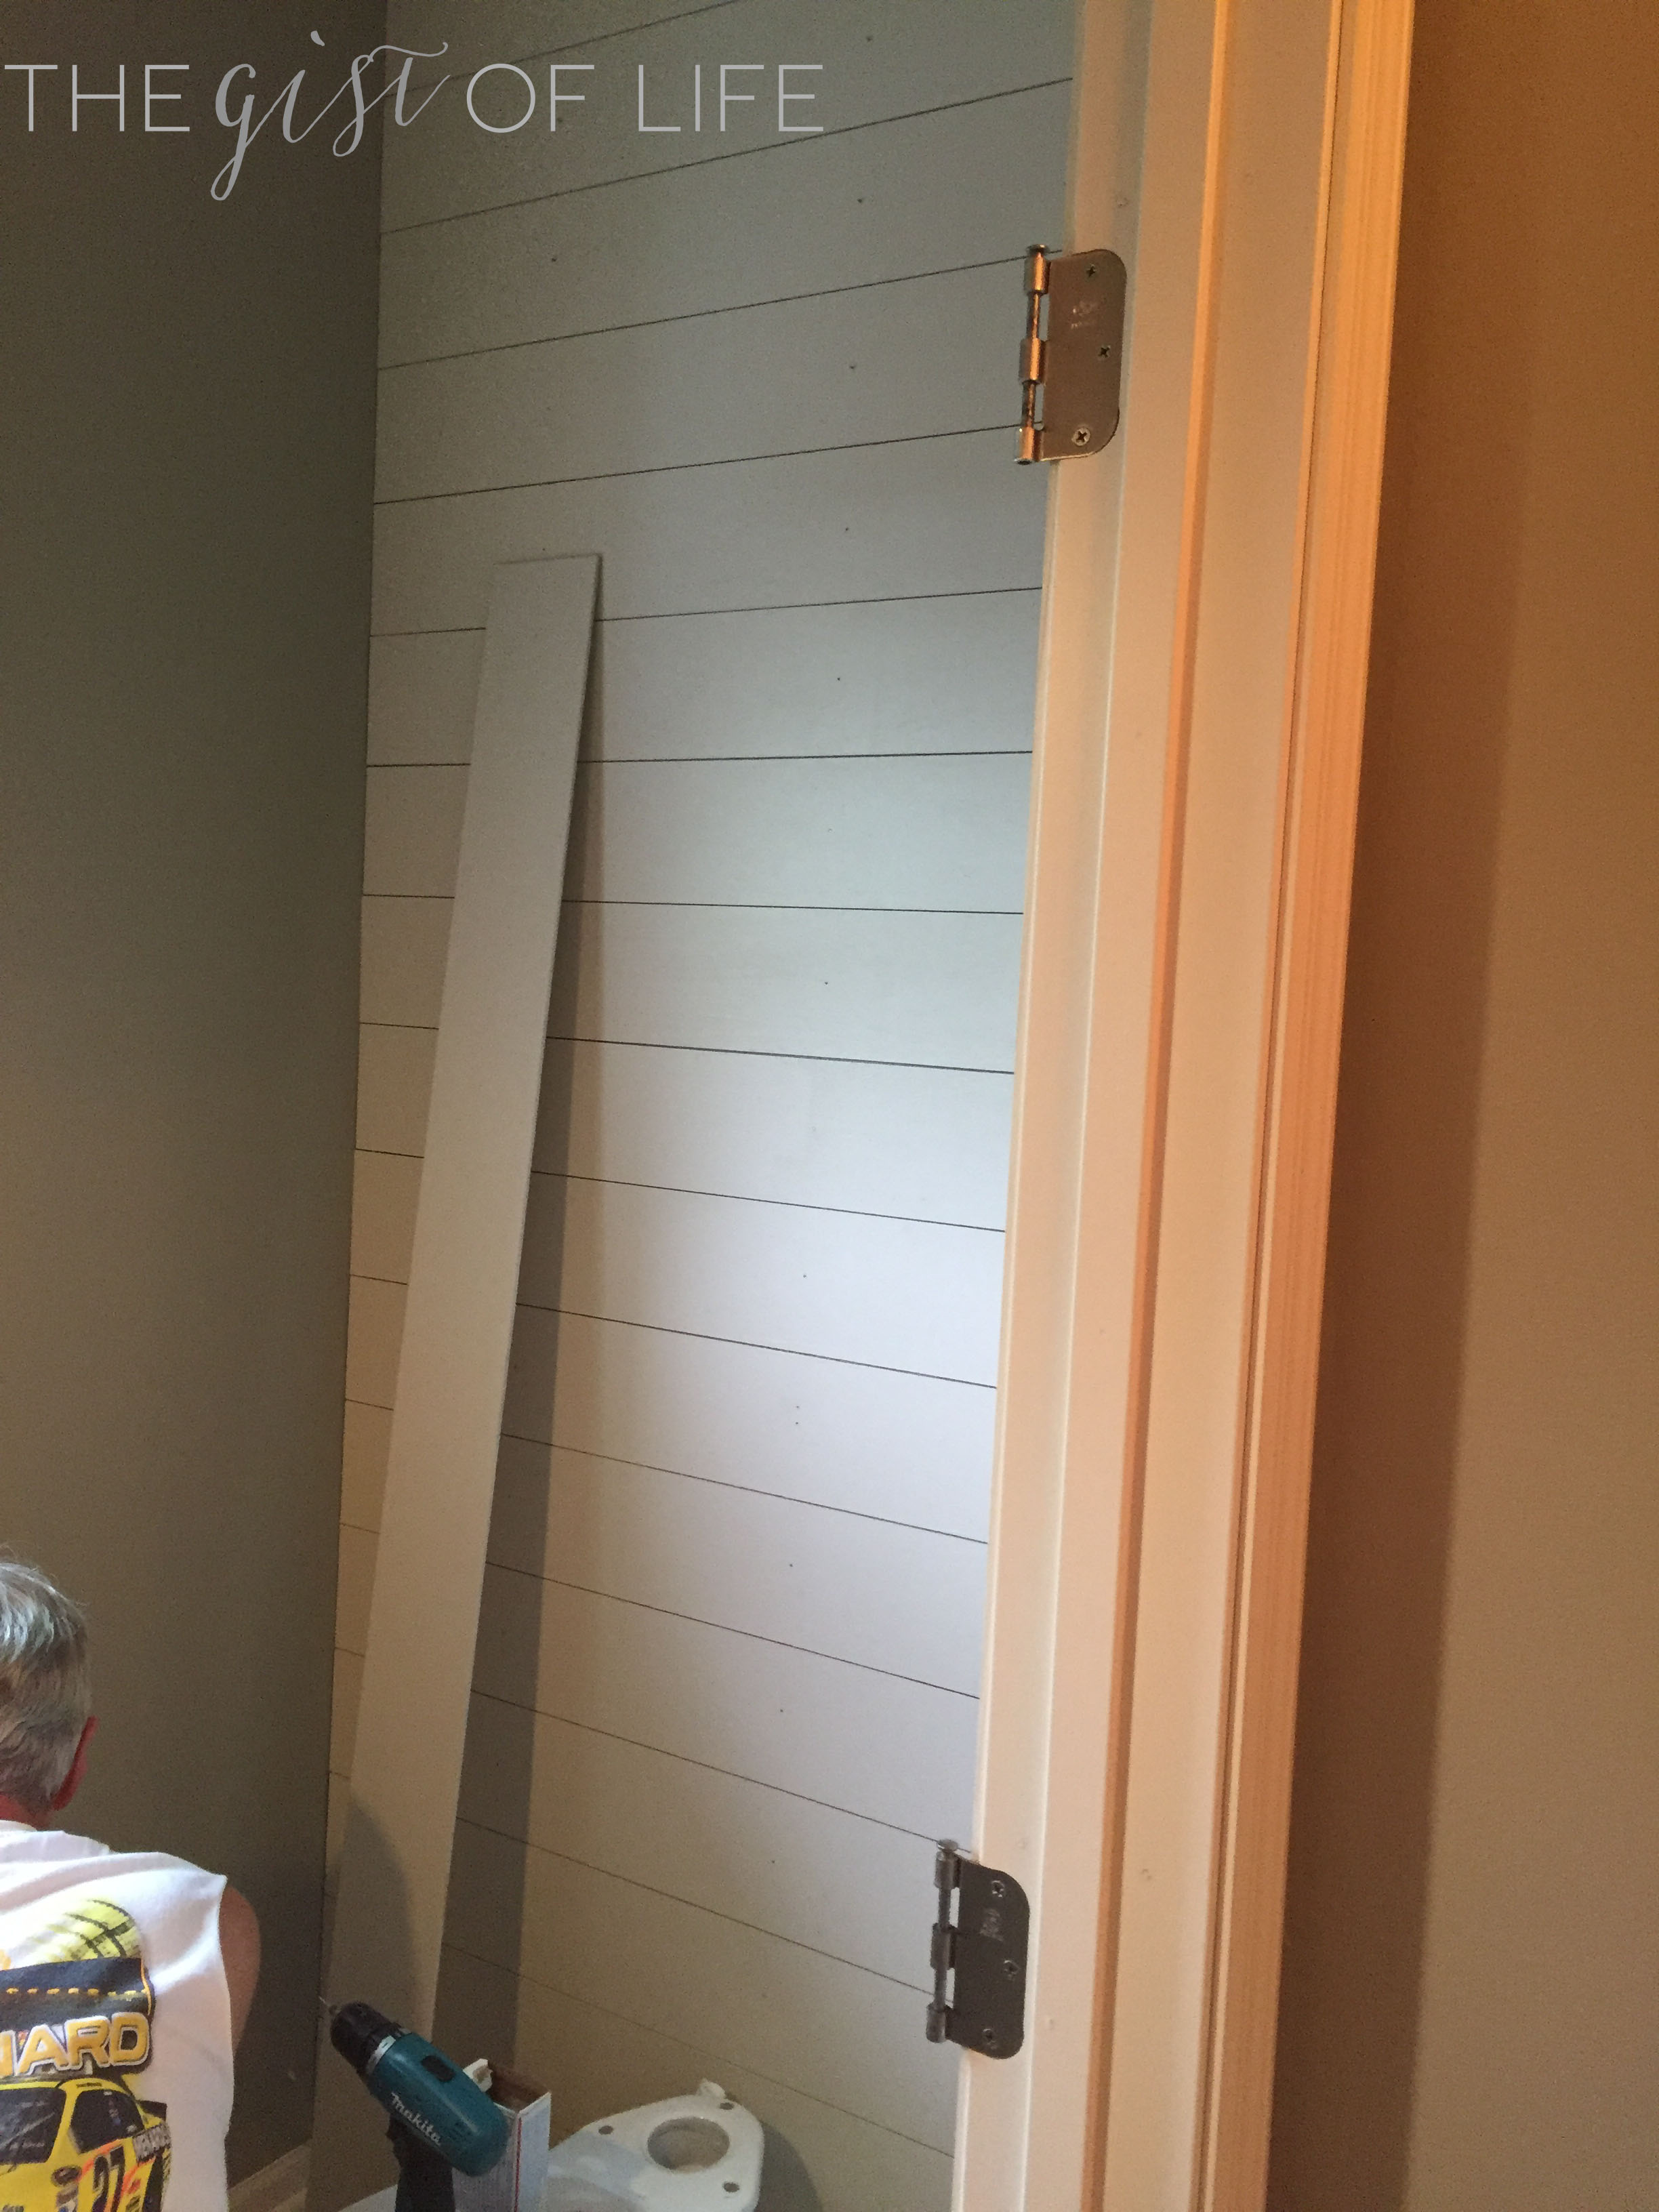
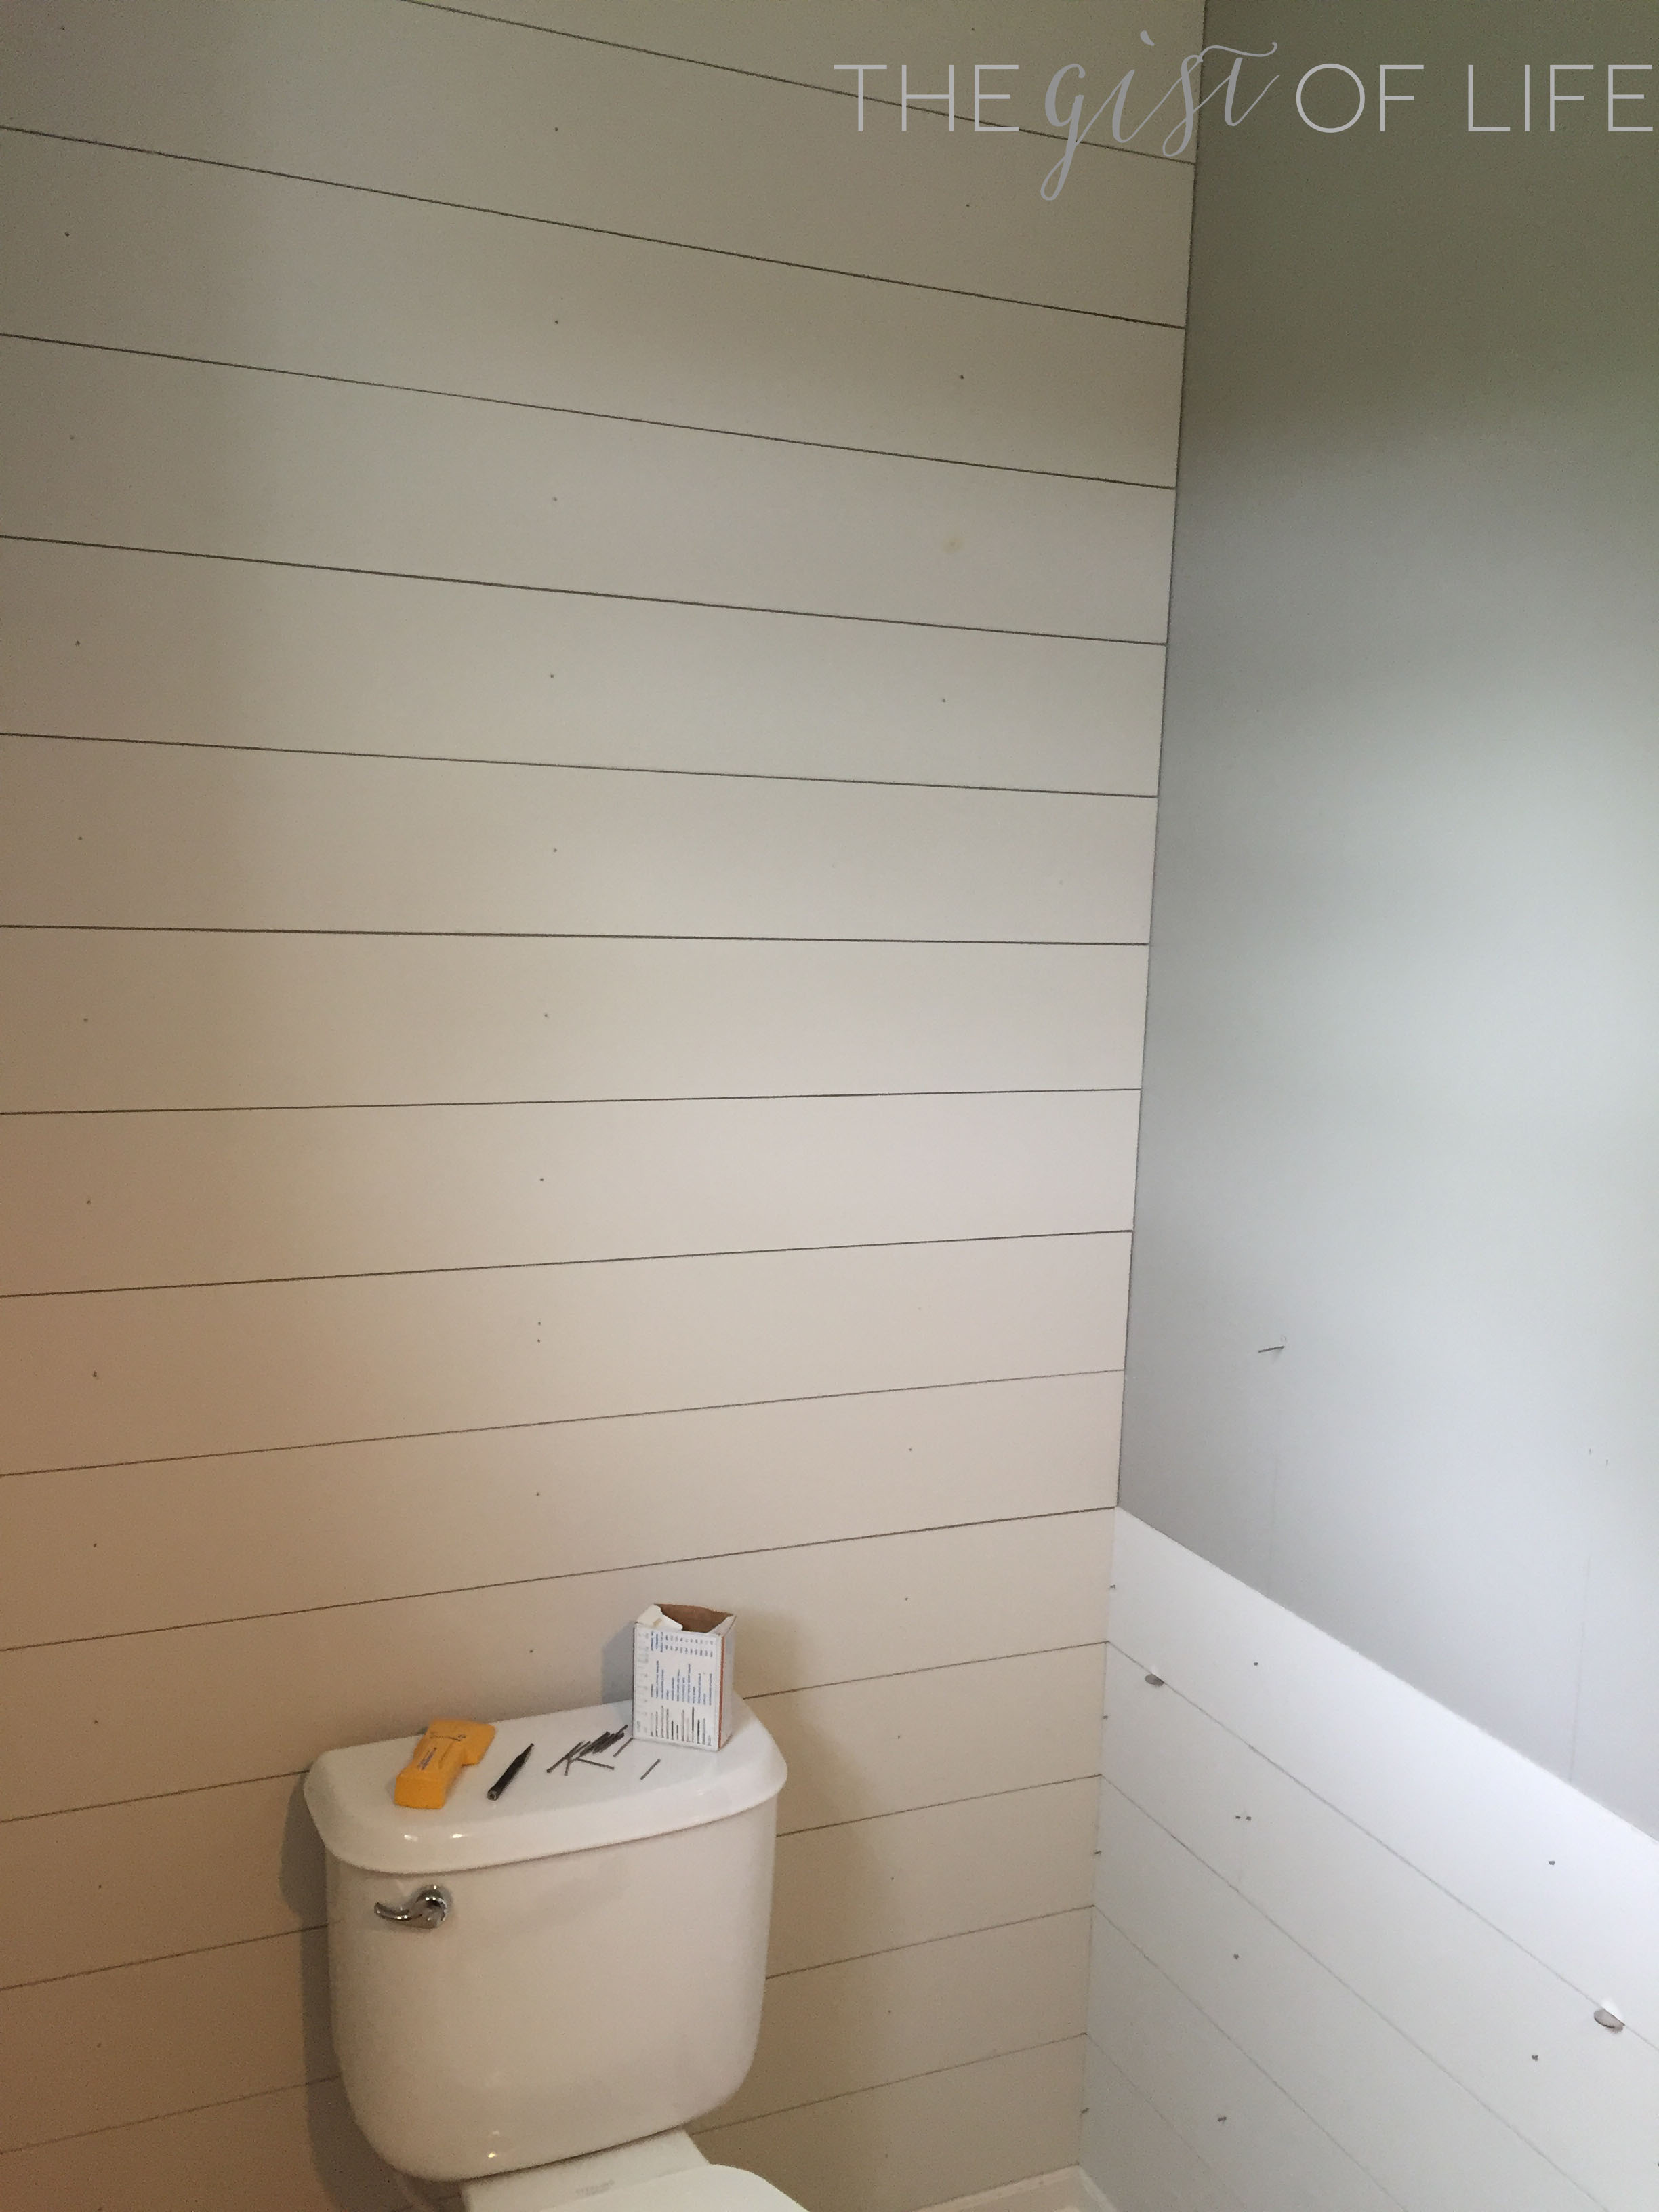
I’m just going to go out on a limb and say I’m not a do-it-yourself blogger. I enjoy sharing some of my accomplishments and the photos along the way, but even though I’m an educator, I’m not good at putting together step-by-steps.
Do yourself a favor and watch this tutorial. Jenna Sue has some AMAZING diy videos and projects to follow. I followed a lot of her same steps, but I painted before hammering up each board. It did make it real easy and quick once we started putting them on the wall!
Once we had all boards up and in the perfect place, I had to go back through and cover up each tiny nail head with wood putty, to keep the boards polished. My mom ended up coming over with a tiny paintbrush and then repainted where I used the wood putty on each board, [she definitely has more patience then me!].
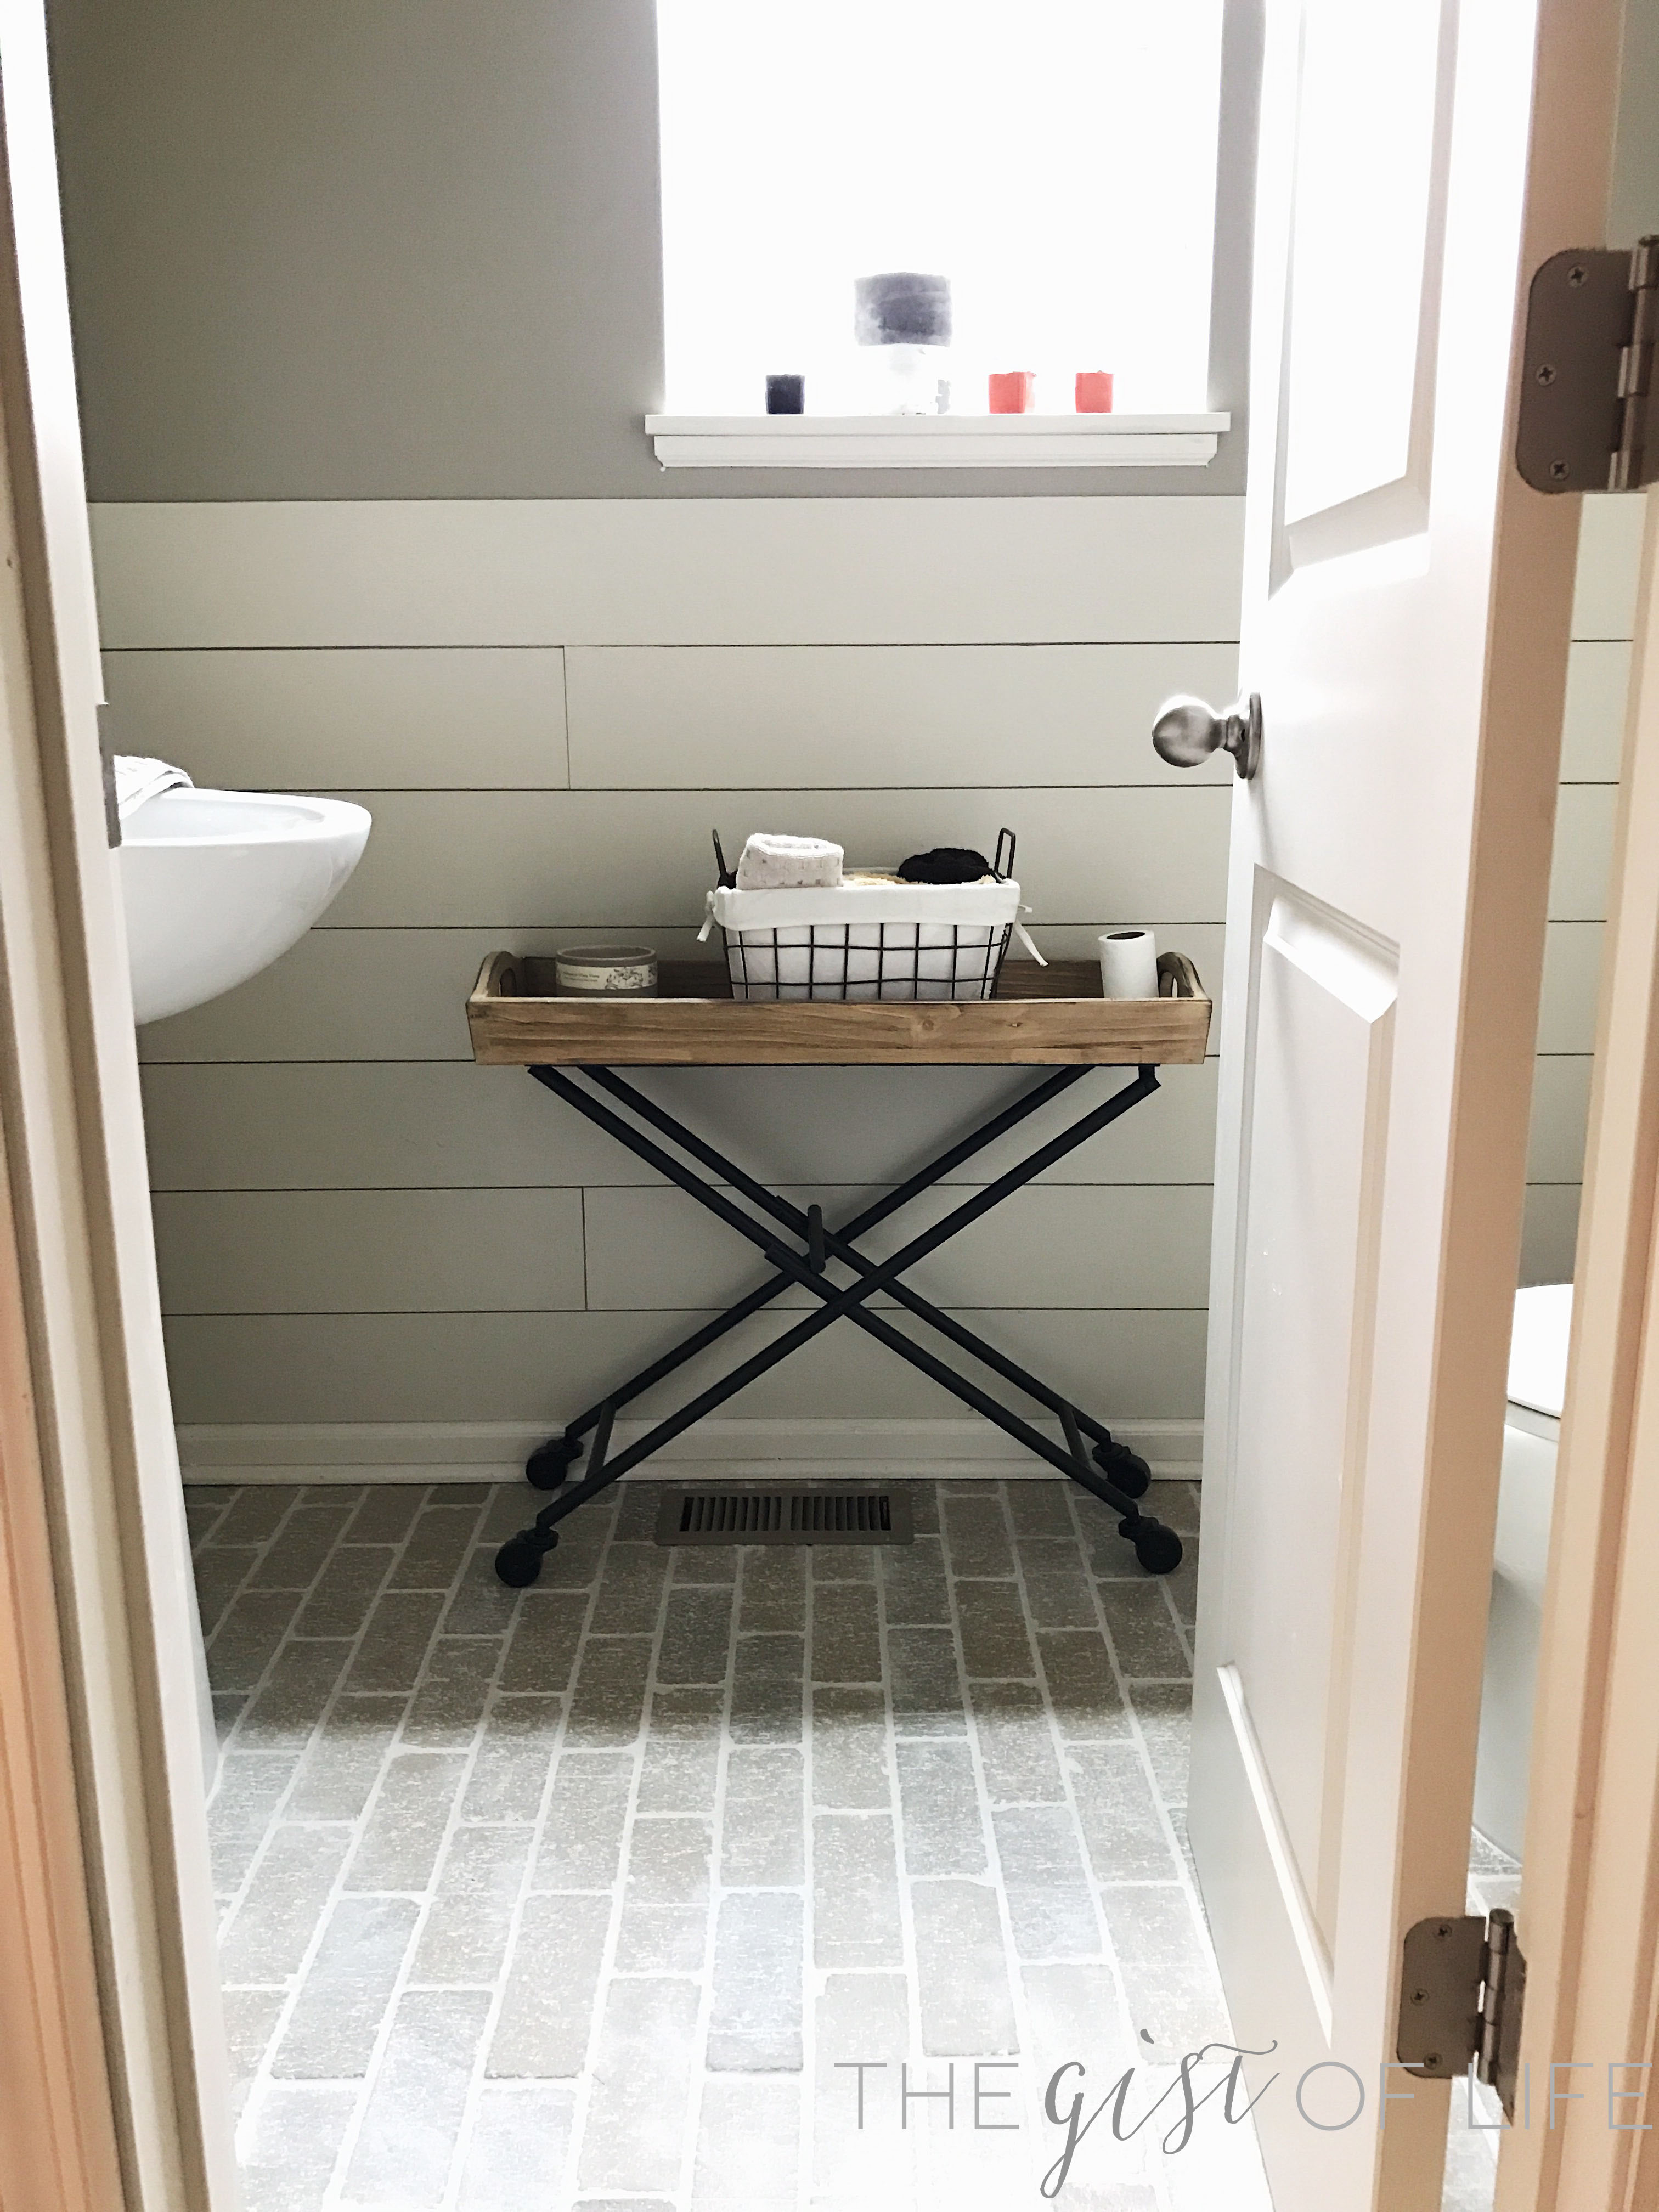
You can see some finished photos of the bathroom at the bottom of the page, with our awesome tile!
The Flooring:
From the time we’ve moved into our house, I’ve always wanted to add more character. I love our space and I love our lot, but some of our builder grade details has definitely worn me down over the years. I’ve slowly plucked away at projects to give our home the style I’ve craved, but my favorite add-on, by far, has been our new entry way flooring.
Tony and I decided to tile our entryway [& laundry room & lower bathroom] ourselves to save some money. [When I say ourselves, I really mean Tony and my father-in-law 🙂 ]. I could have gone with something simple, but if this is our forever house, I want to it to really be ours. So instead, I picked out brick.
Yes, you read that right – brick!
It’s actually a thin brick – you can find something similar to what we used here. We bought mixed colored packages with gray tones and light khaki colored tones, along with this grout, in silverado. It was the perfect combo – but we will get to that in a second!
Demo Day #1: I returned home from conference night around 8:15pm to be handed a wrench and told to get to work. The process of pulling up our old flooring was started and what was left was the pulling of the staples! OMG is this hard work and I give props to anybody who does this on a regular basis.
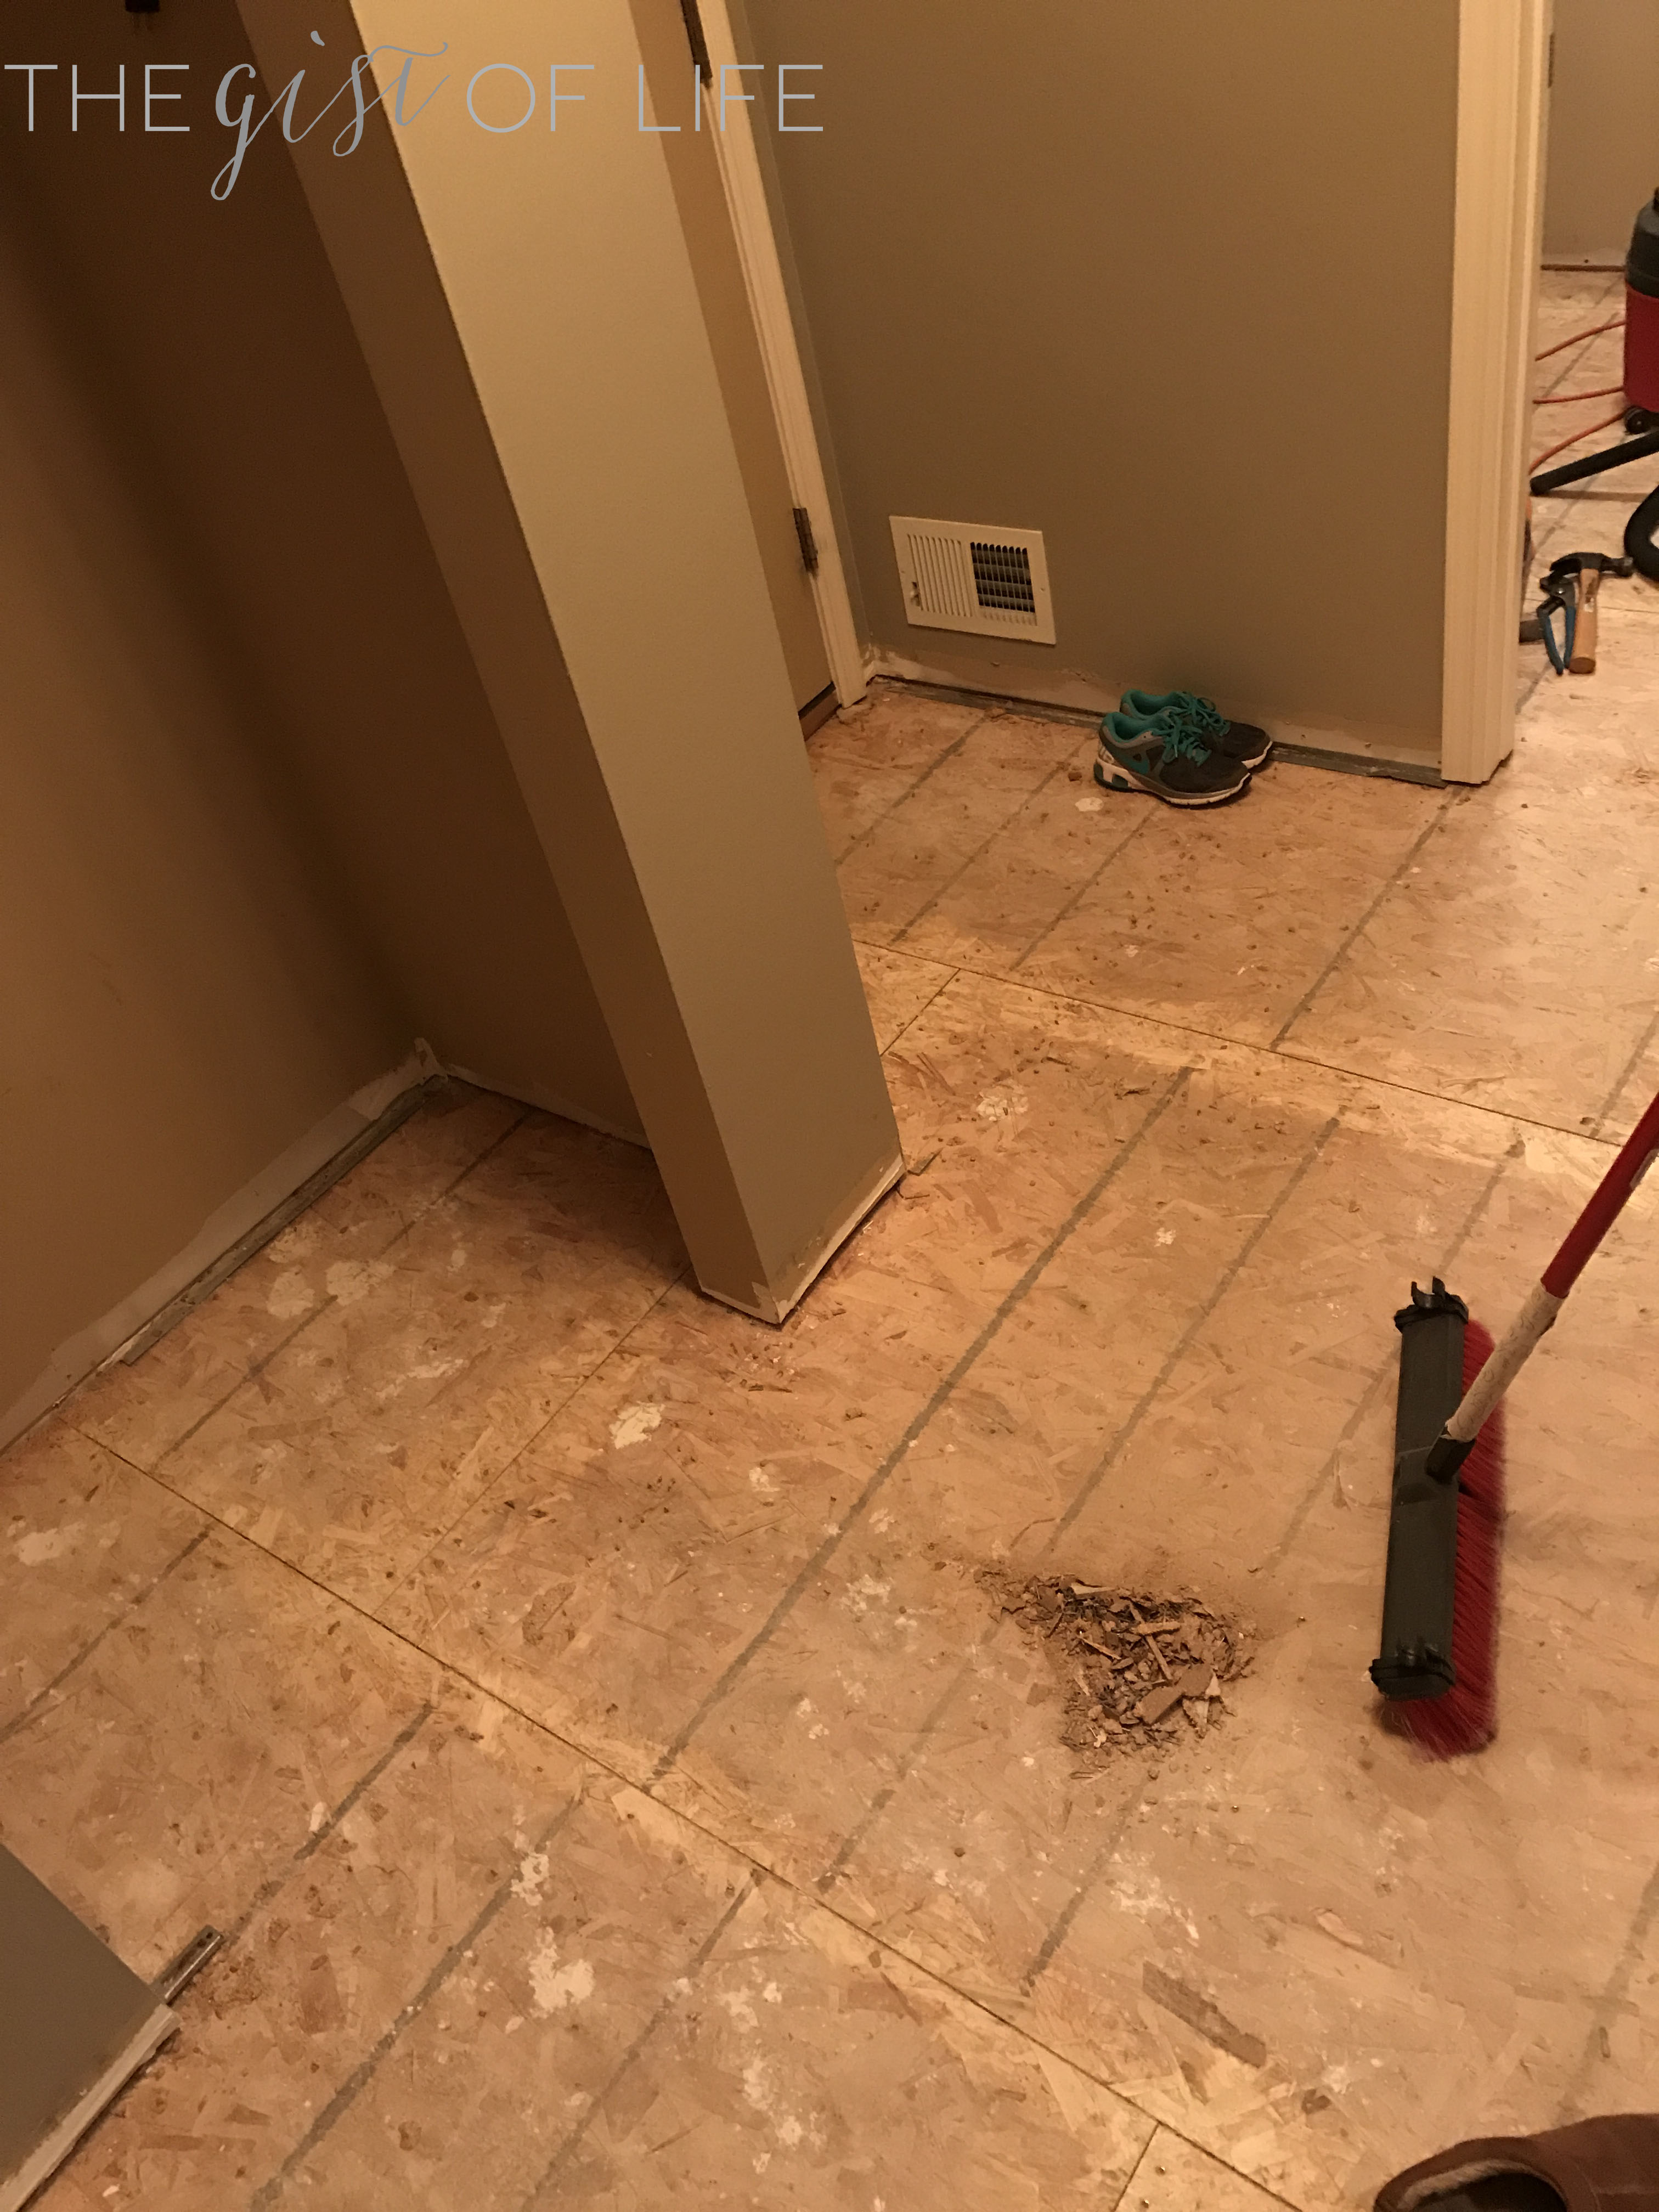
See that pile of ‘stuff’ – those are millions and billions of staples! I shouldn’t really complain, though, because Tony and my father-in-law tackled far more than I did. But I would say this was the worse part of this process.
Next, was the laying of concrete flooring to make sure our base is even and sturdy. Tony and Tim [my father-in-law] had to cut, glue, and wait during this step.
The next step was what took a while…
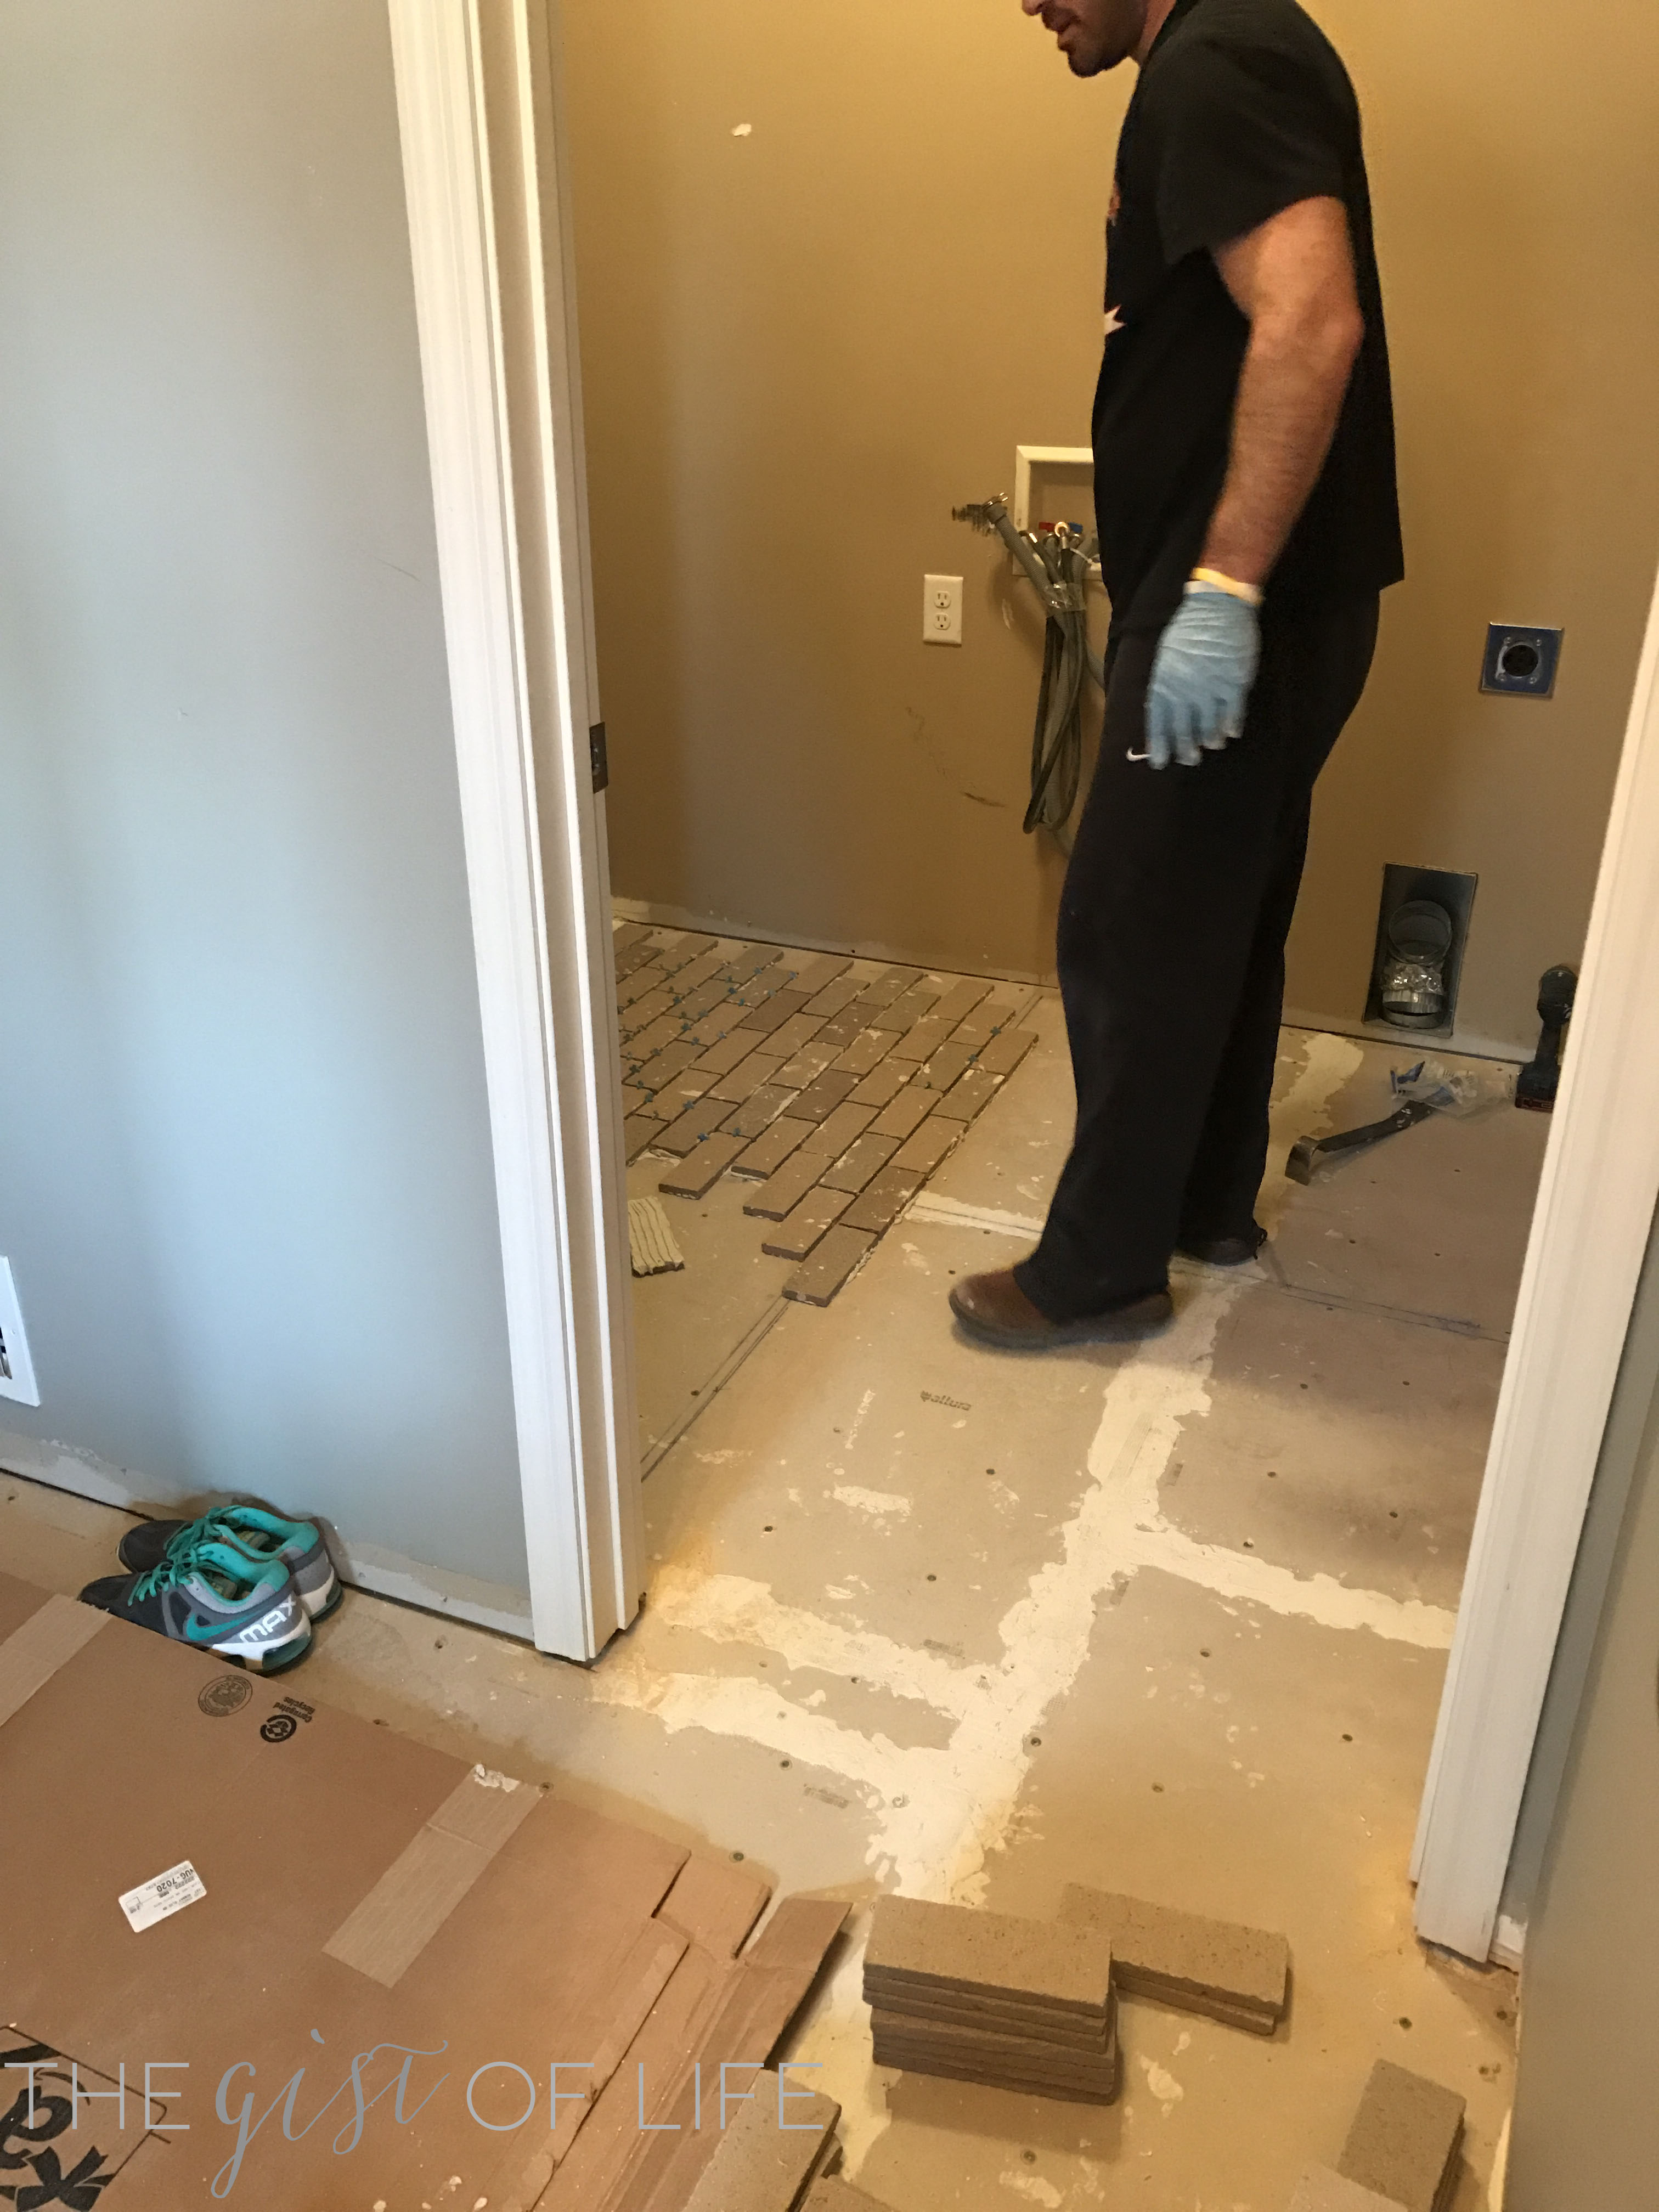
… the laying of the tile. This is Tony hard at work in our laundry room, [another page will come along shortly of our laundry room make over].
I couldn’t have picked a more tedious tile to lay. It was a lot of labor, a lot of cutting, and a lot of time. I’m lucky I have some very patient, handy men in my life to see this project through.
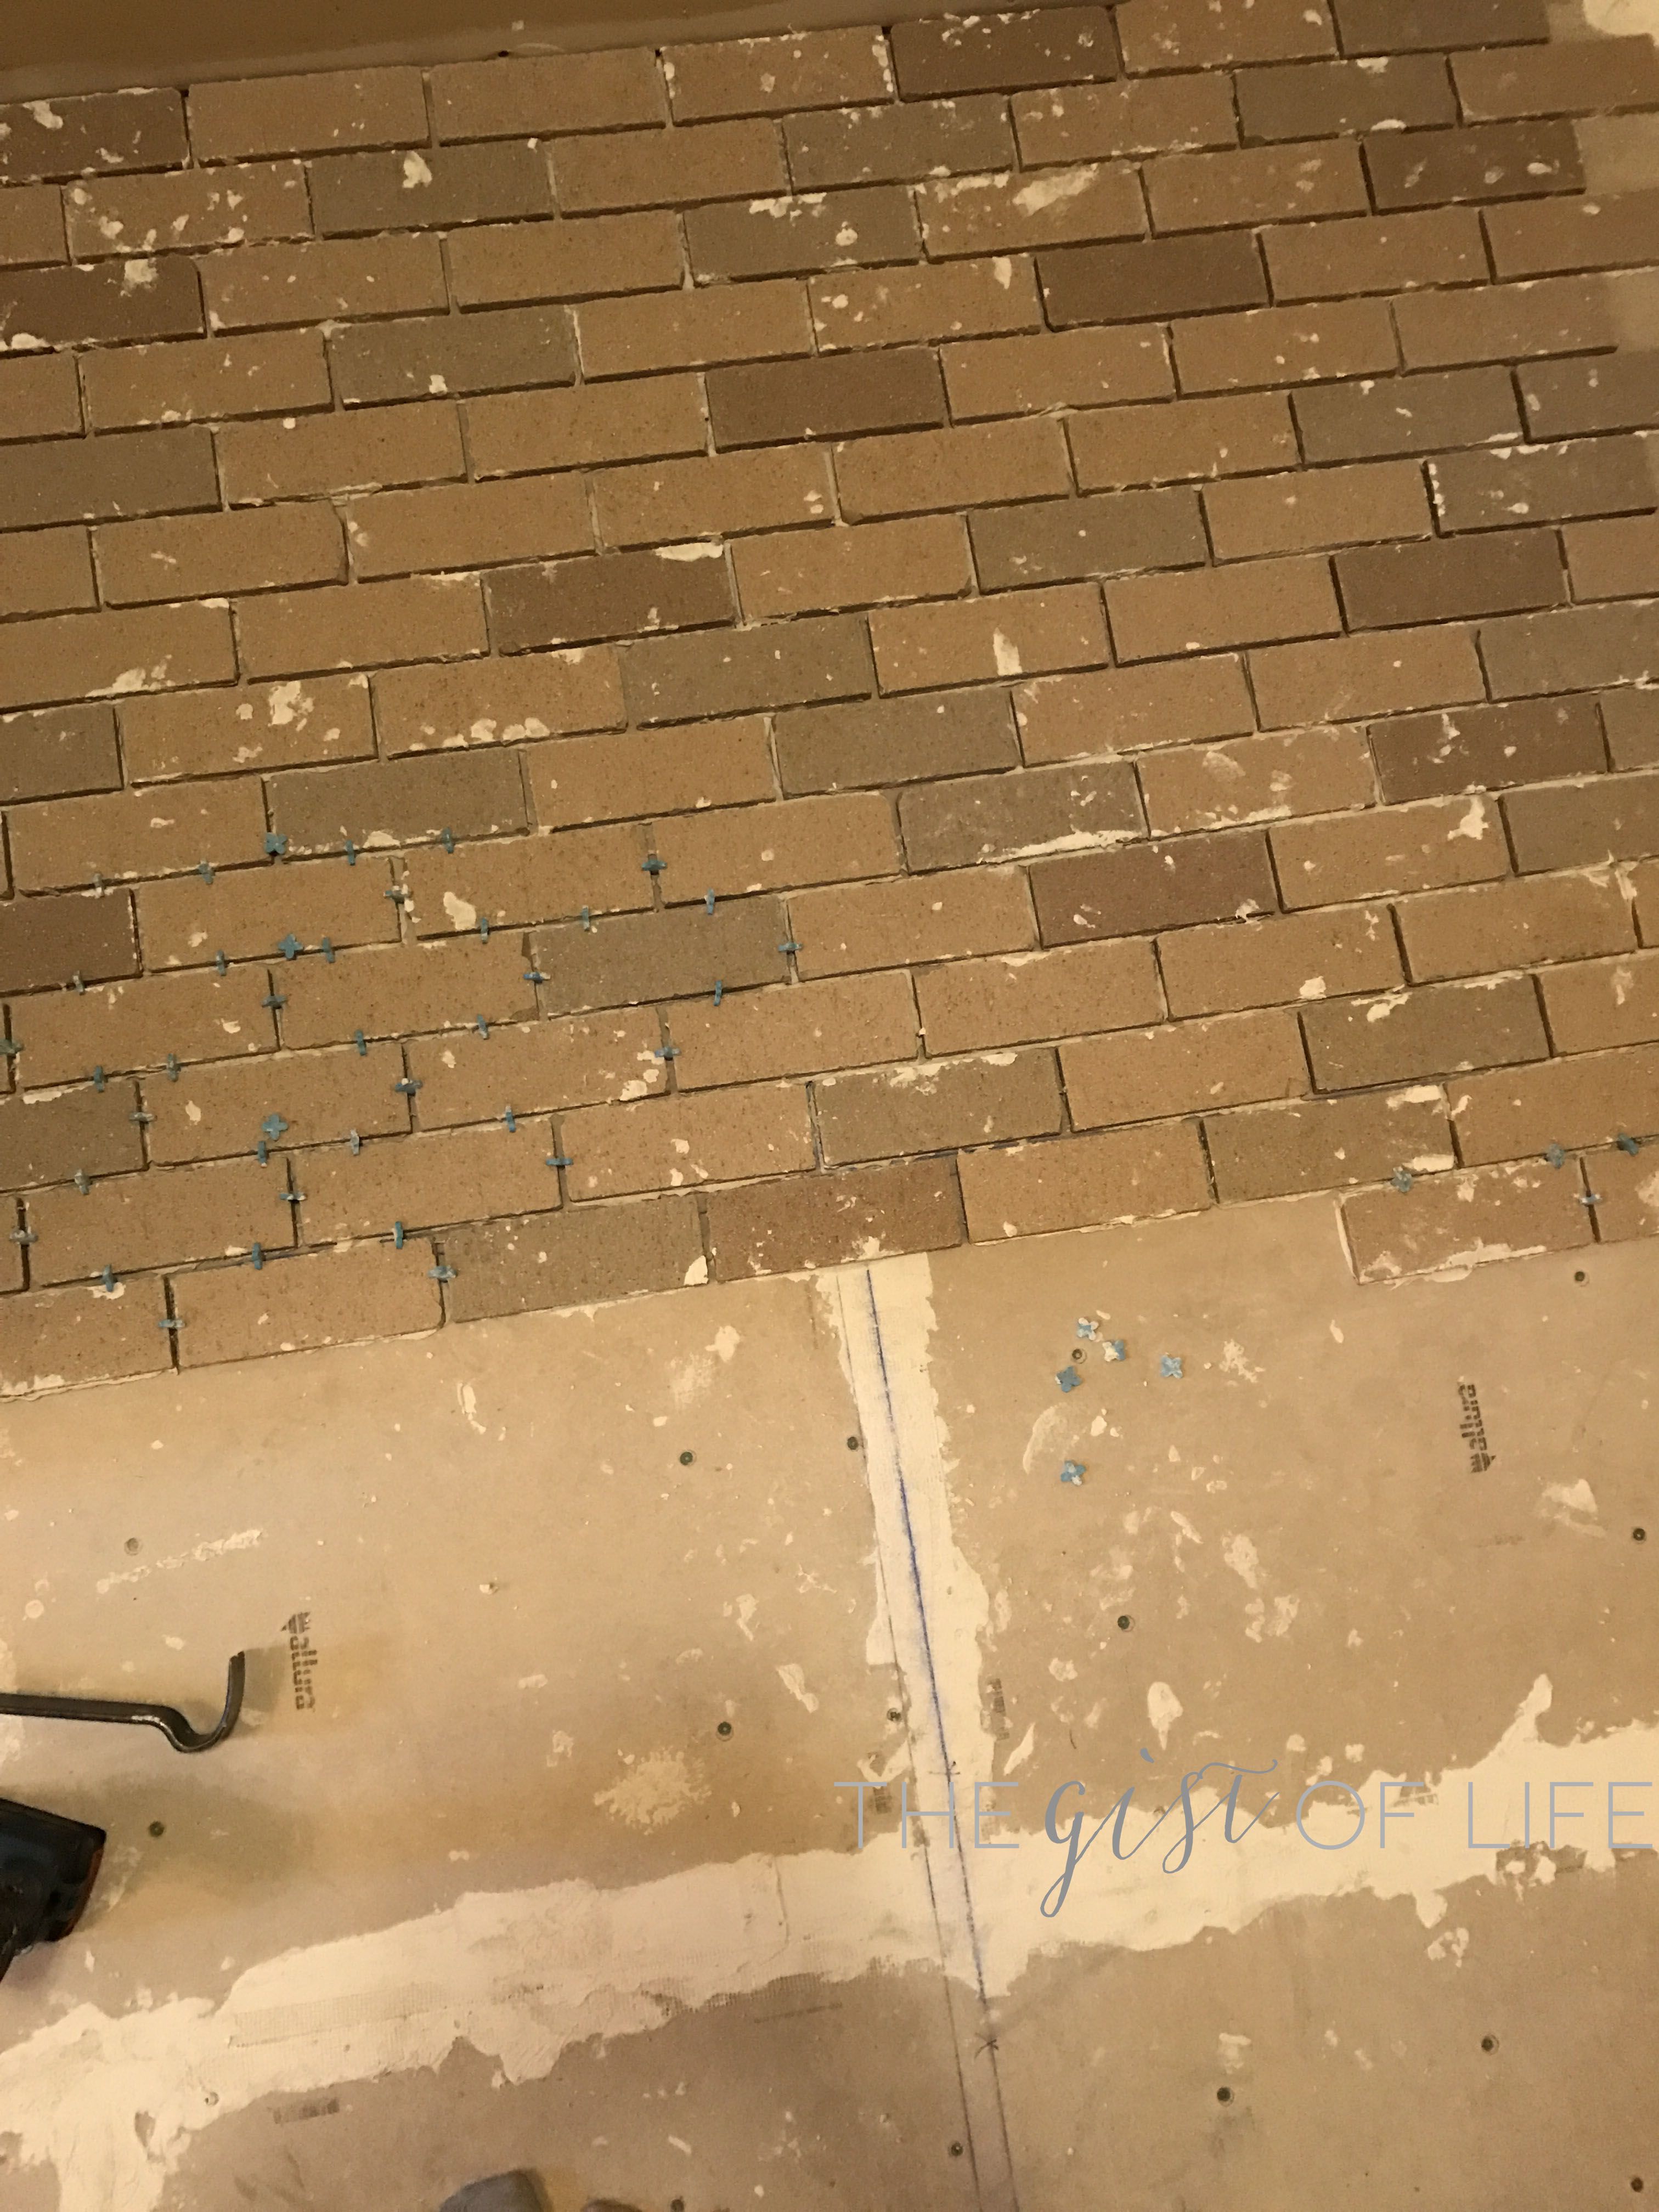
You have to excuse the poor lighting photos – it actually makes the brick look a lot more brown than it is.
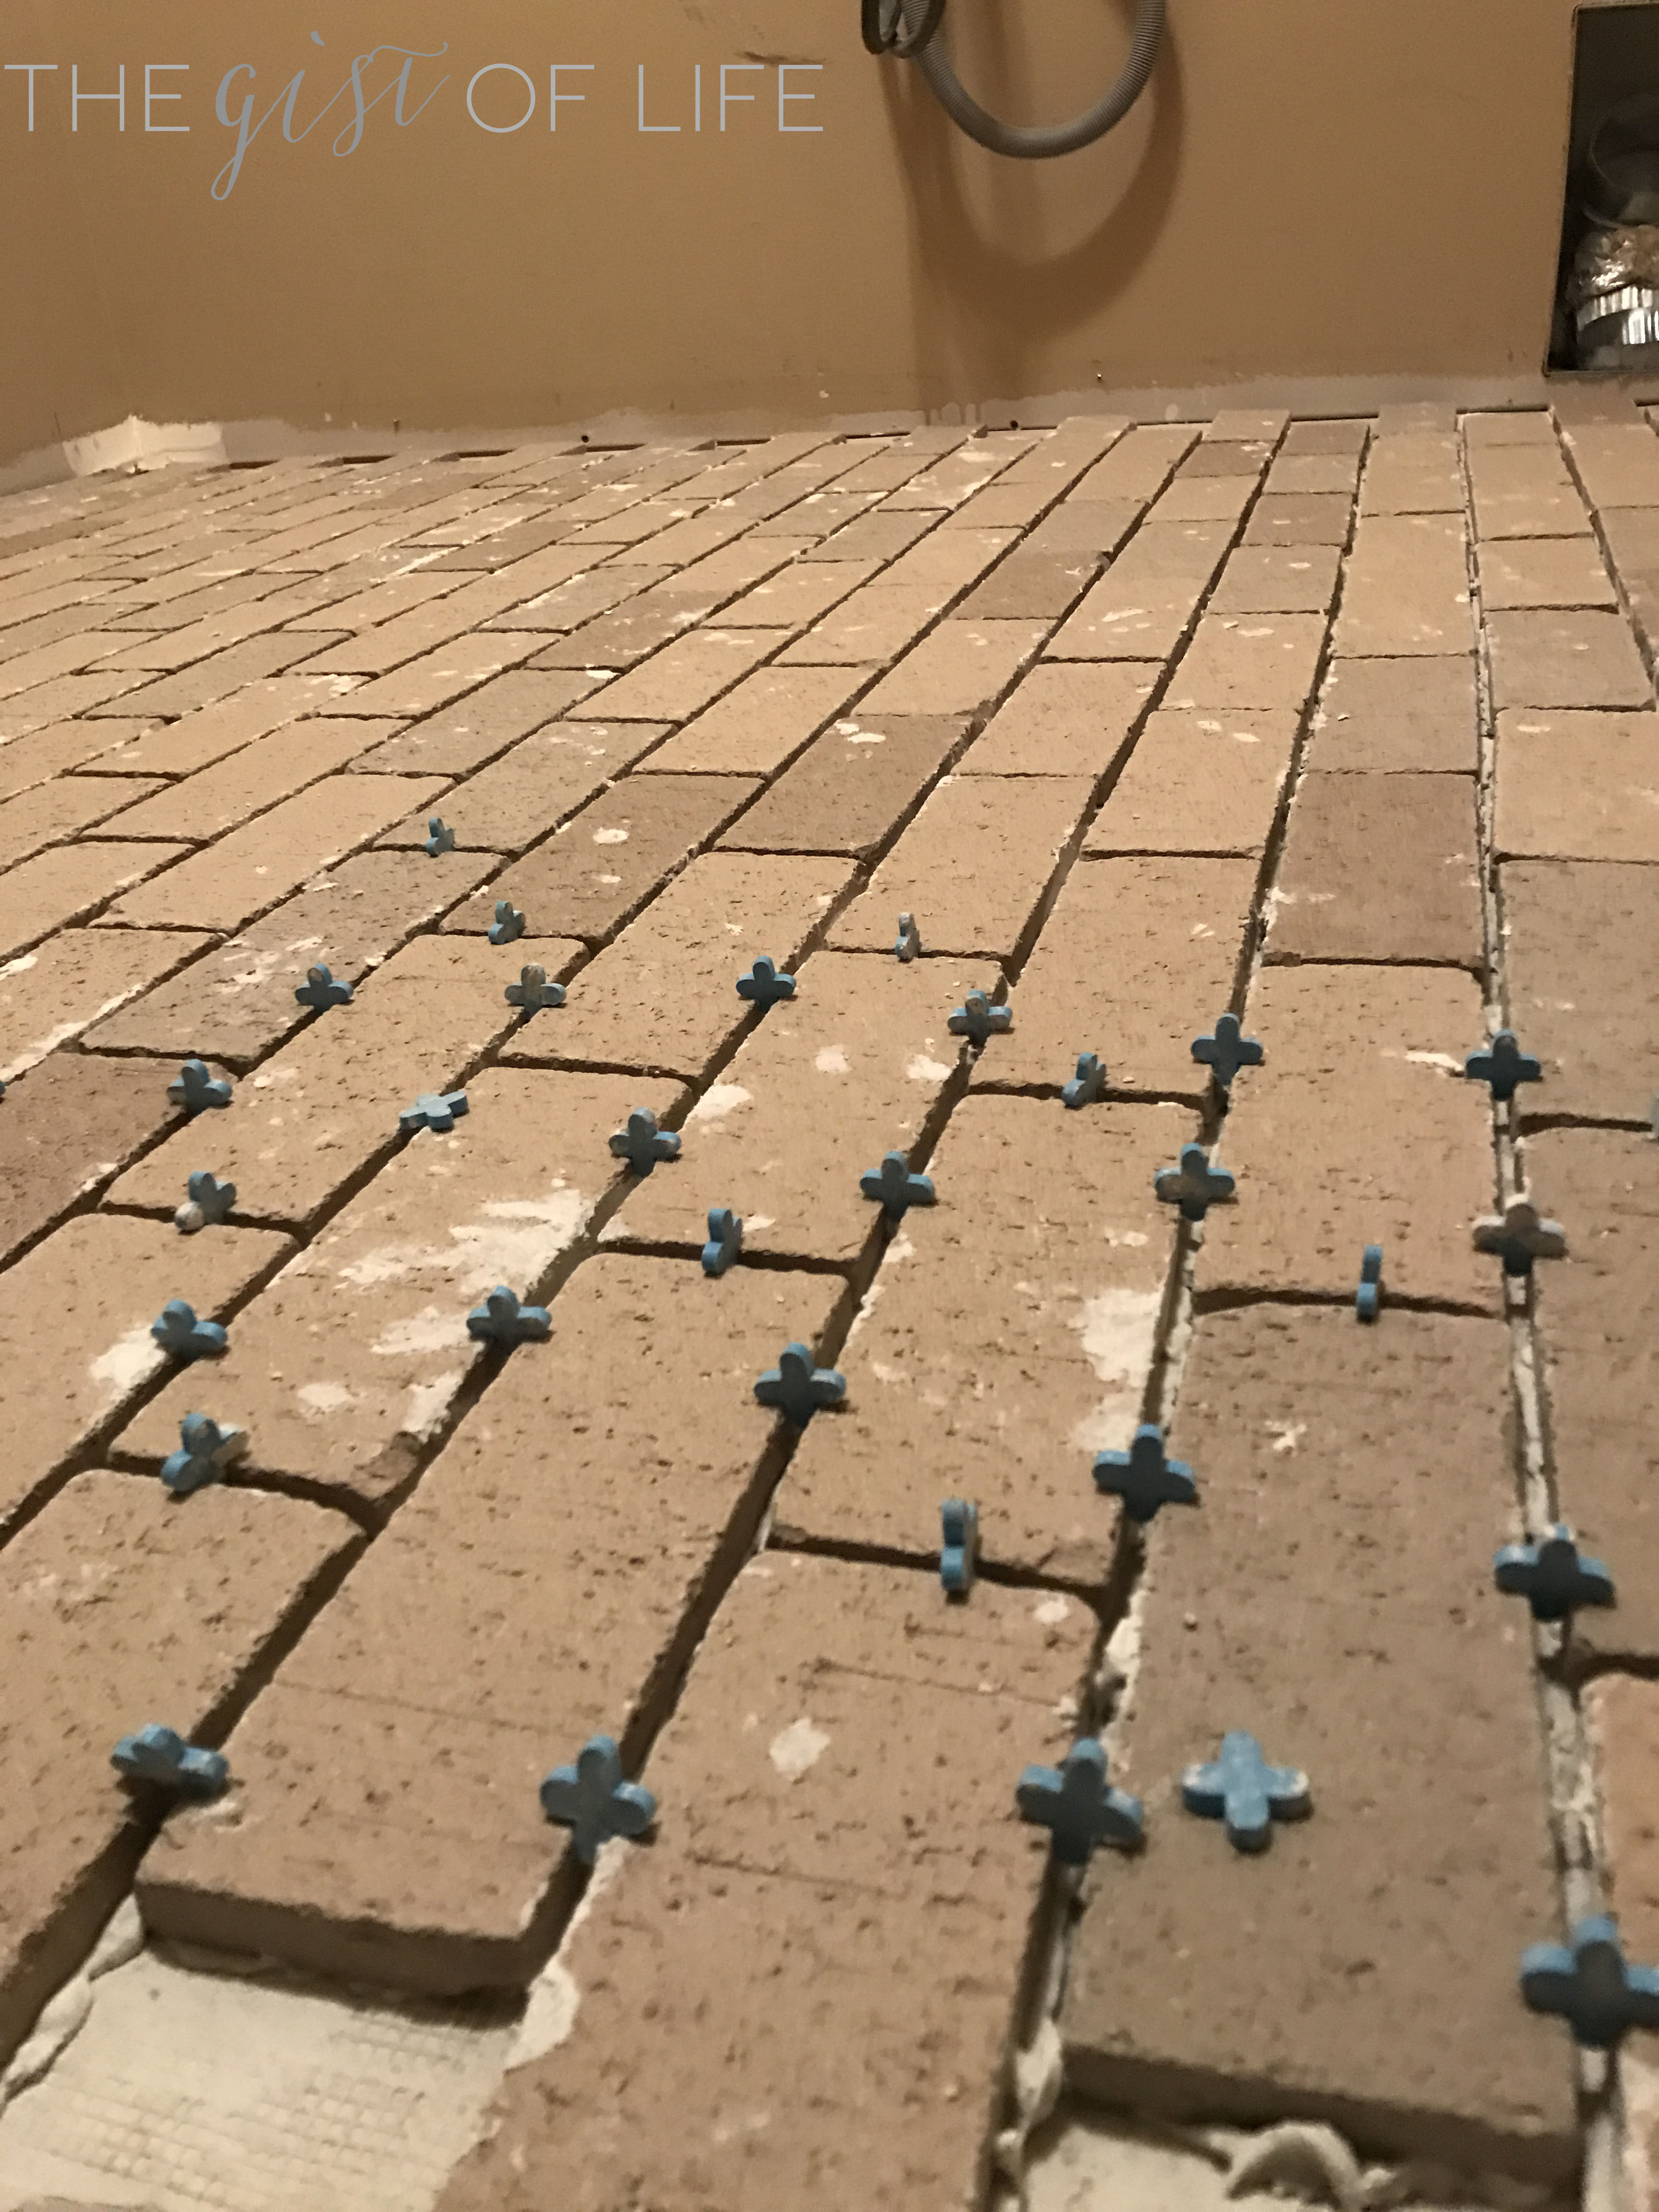
This step of laying & cutting took MOST of Tony and Tim’s nights after work [about two weeks] and at least two weekends. They are saints.

The next step was grout. I really like the worn, white-washed look on brick. I didn’t want it to look perfect and clean, I wanted a little character to it. My job was to wash off the grout after it was set –
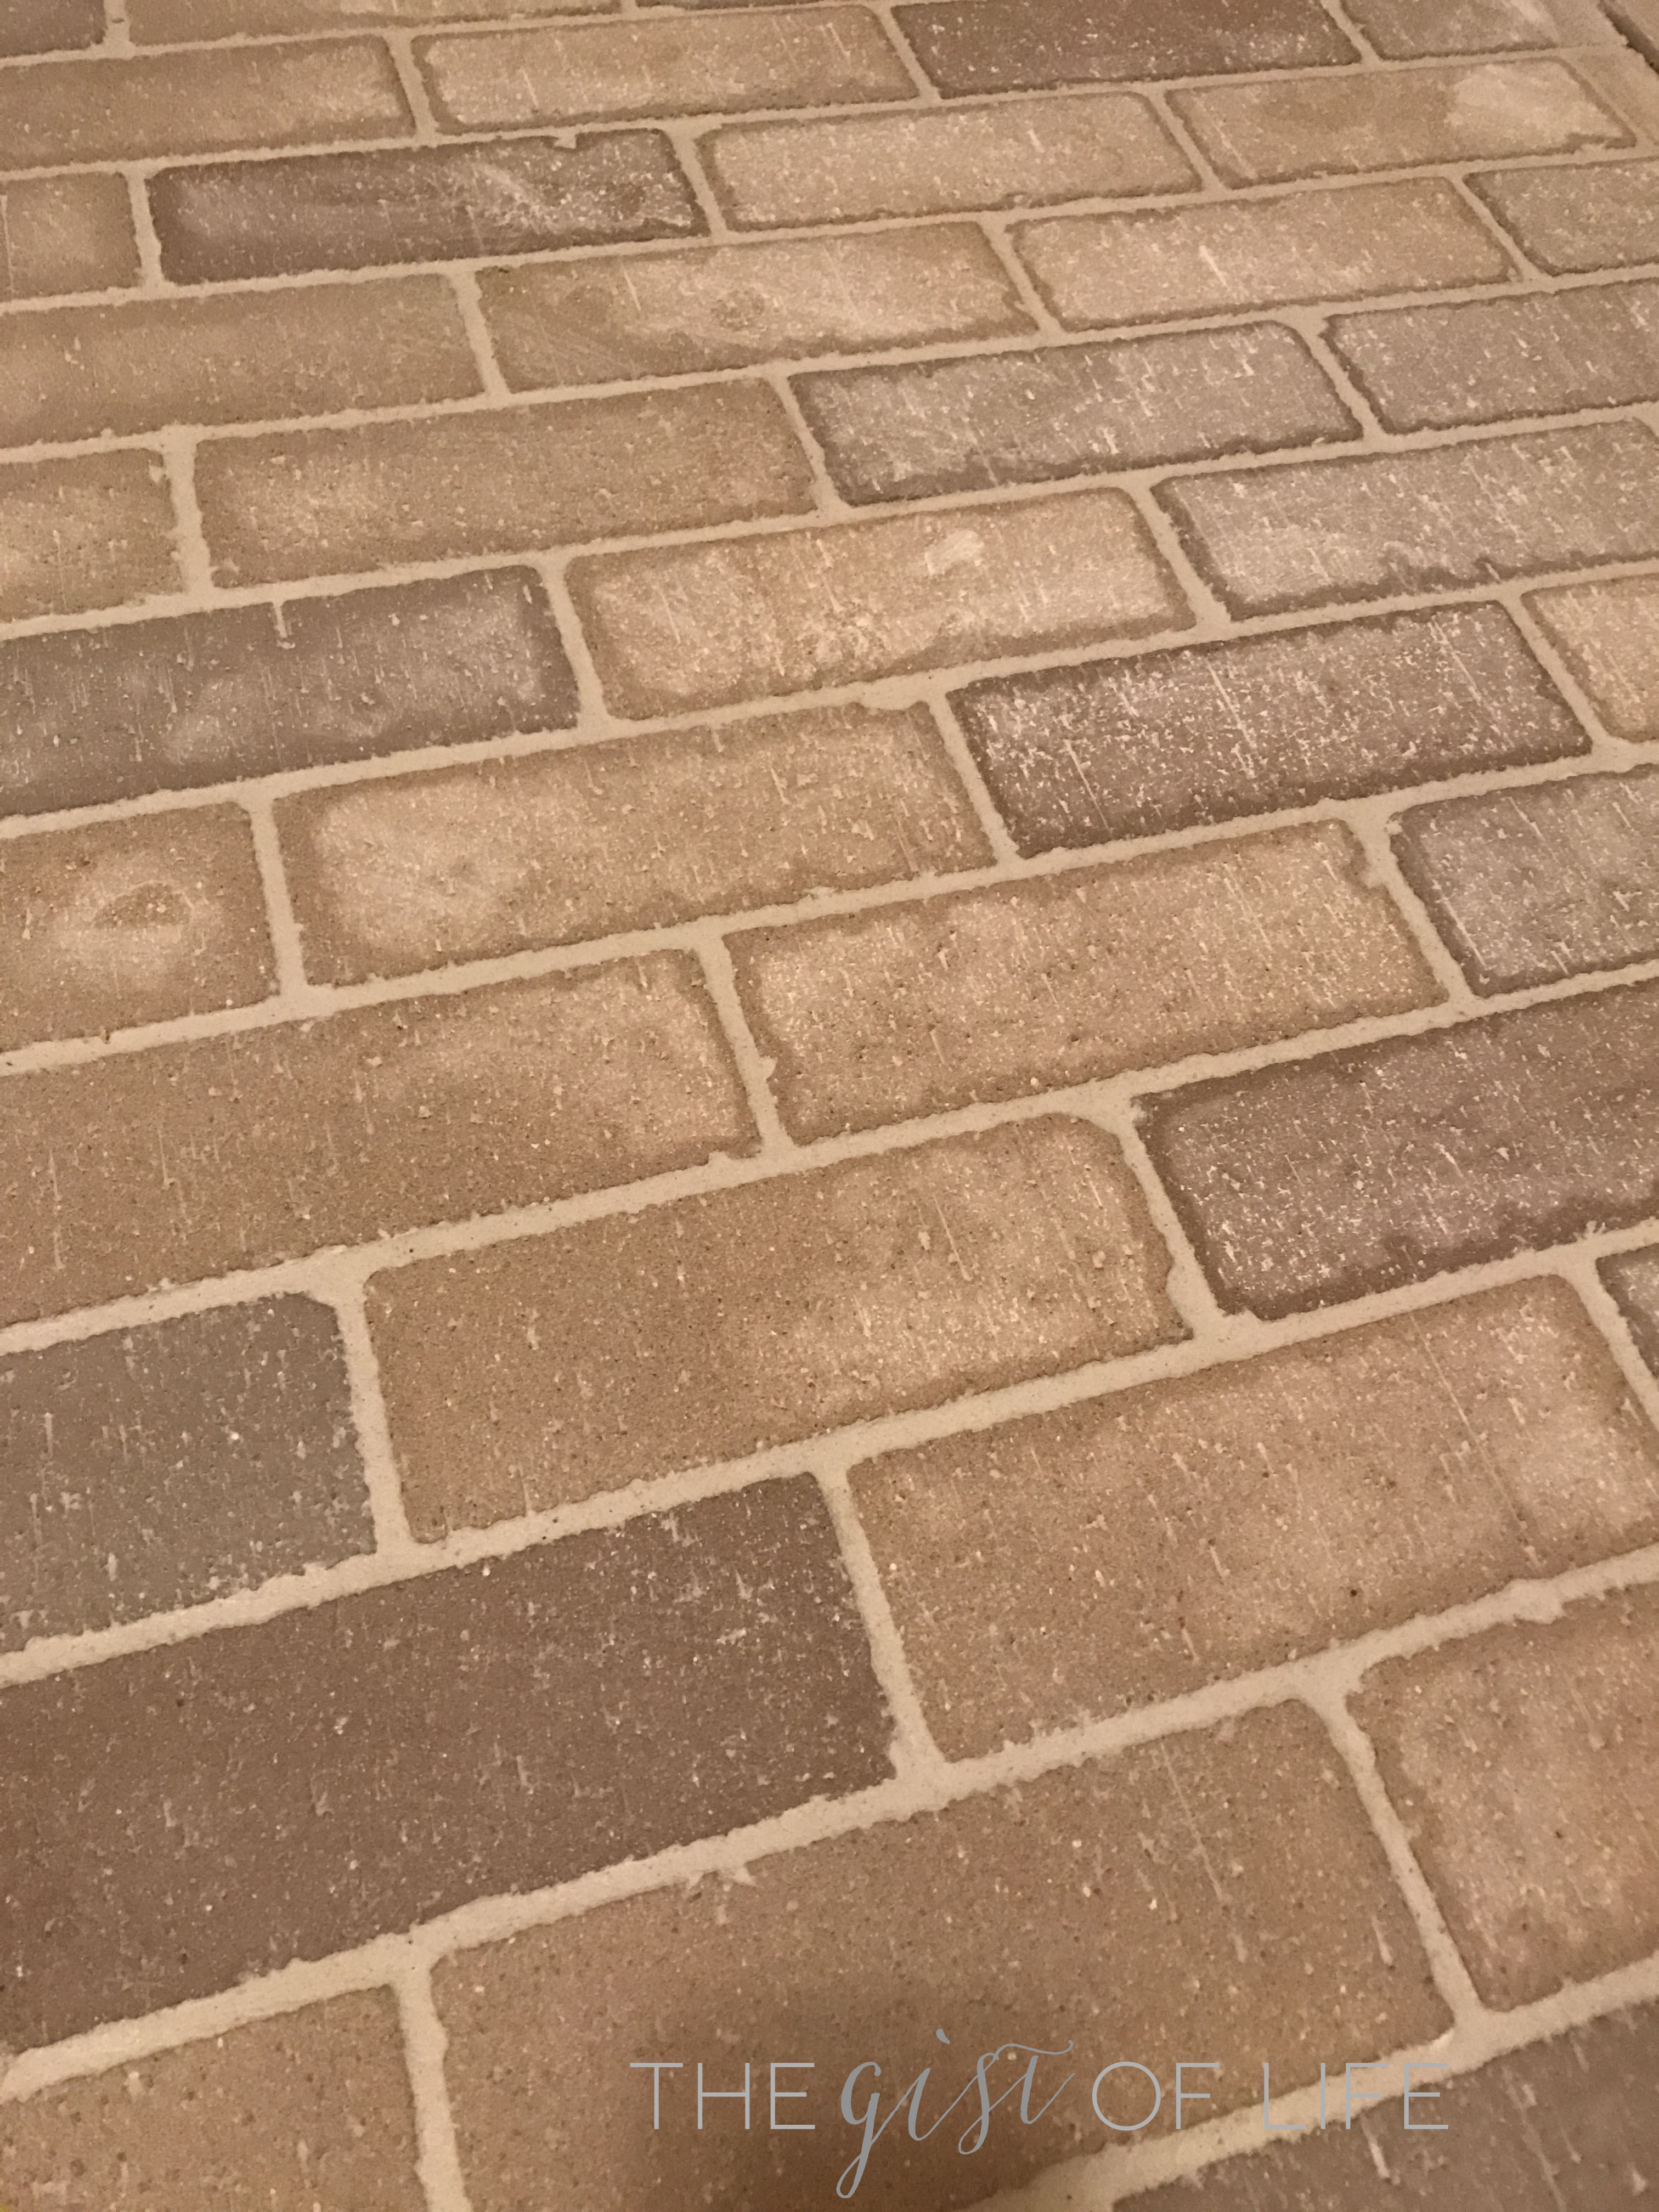
& again – the lighting in my no-window laundry room doesn’t do this brick and color mix justice.
After over a month, and a lot of hard work and late nights, it was starting to slowly come together.
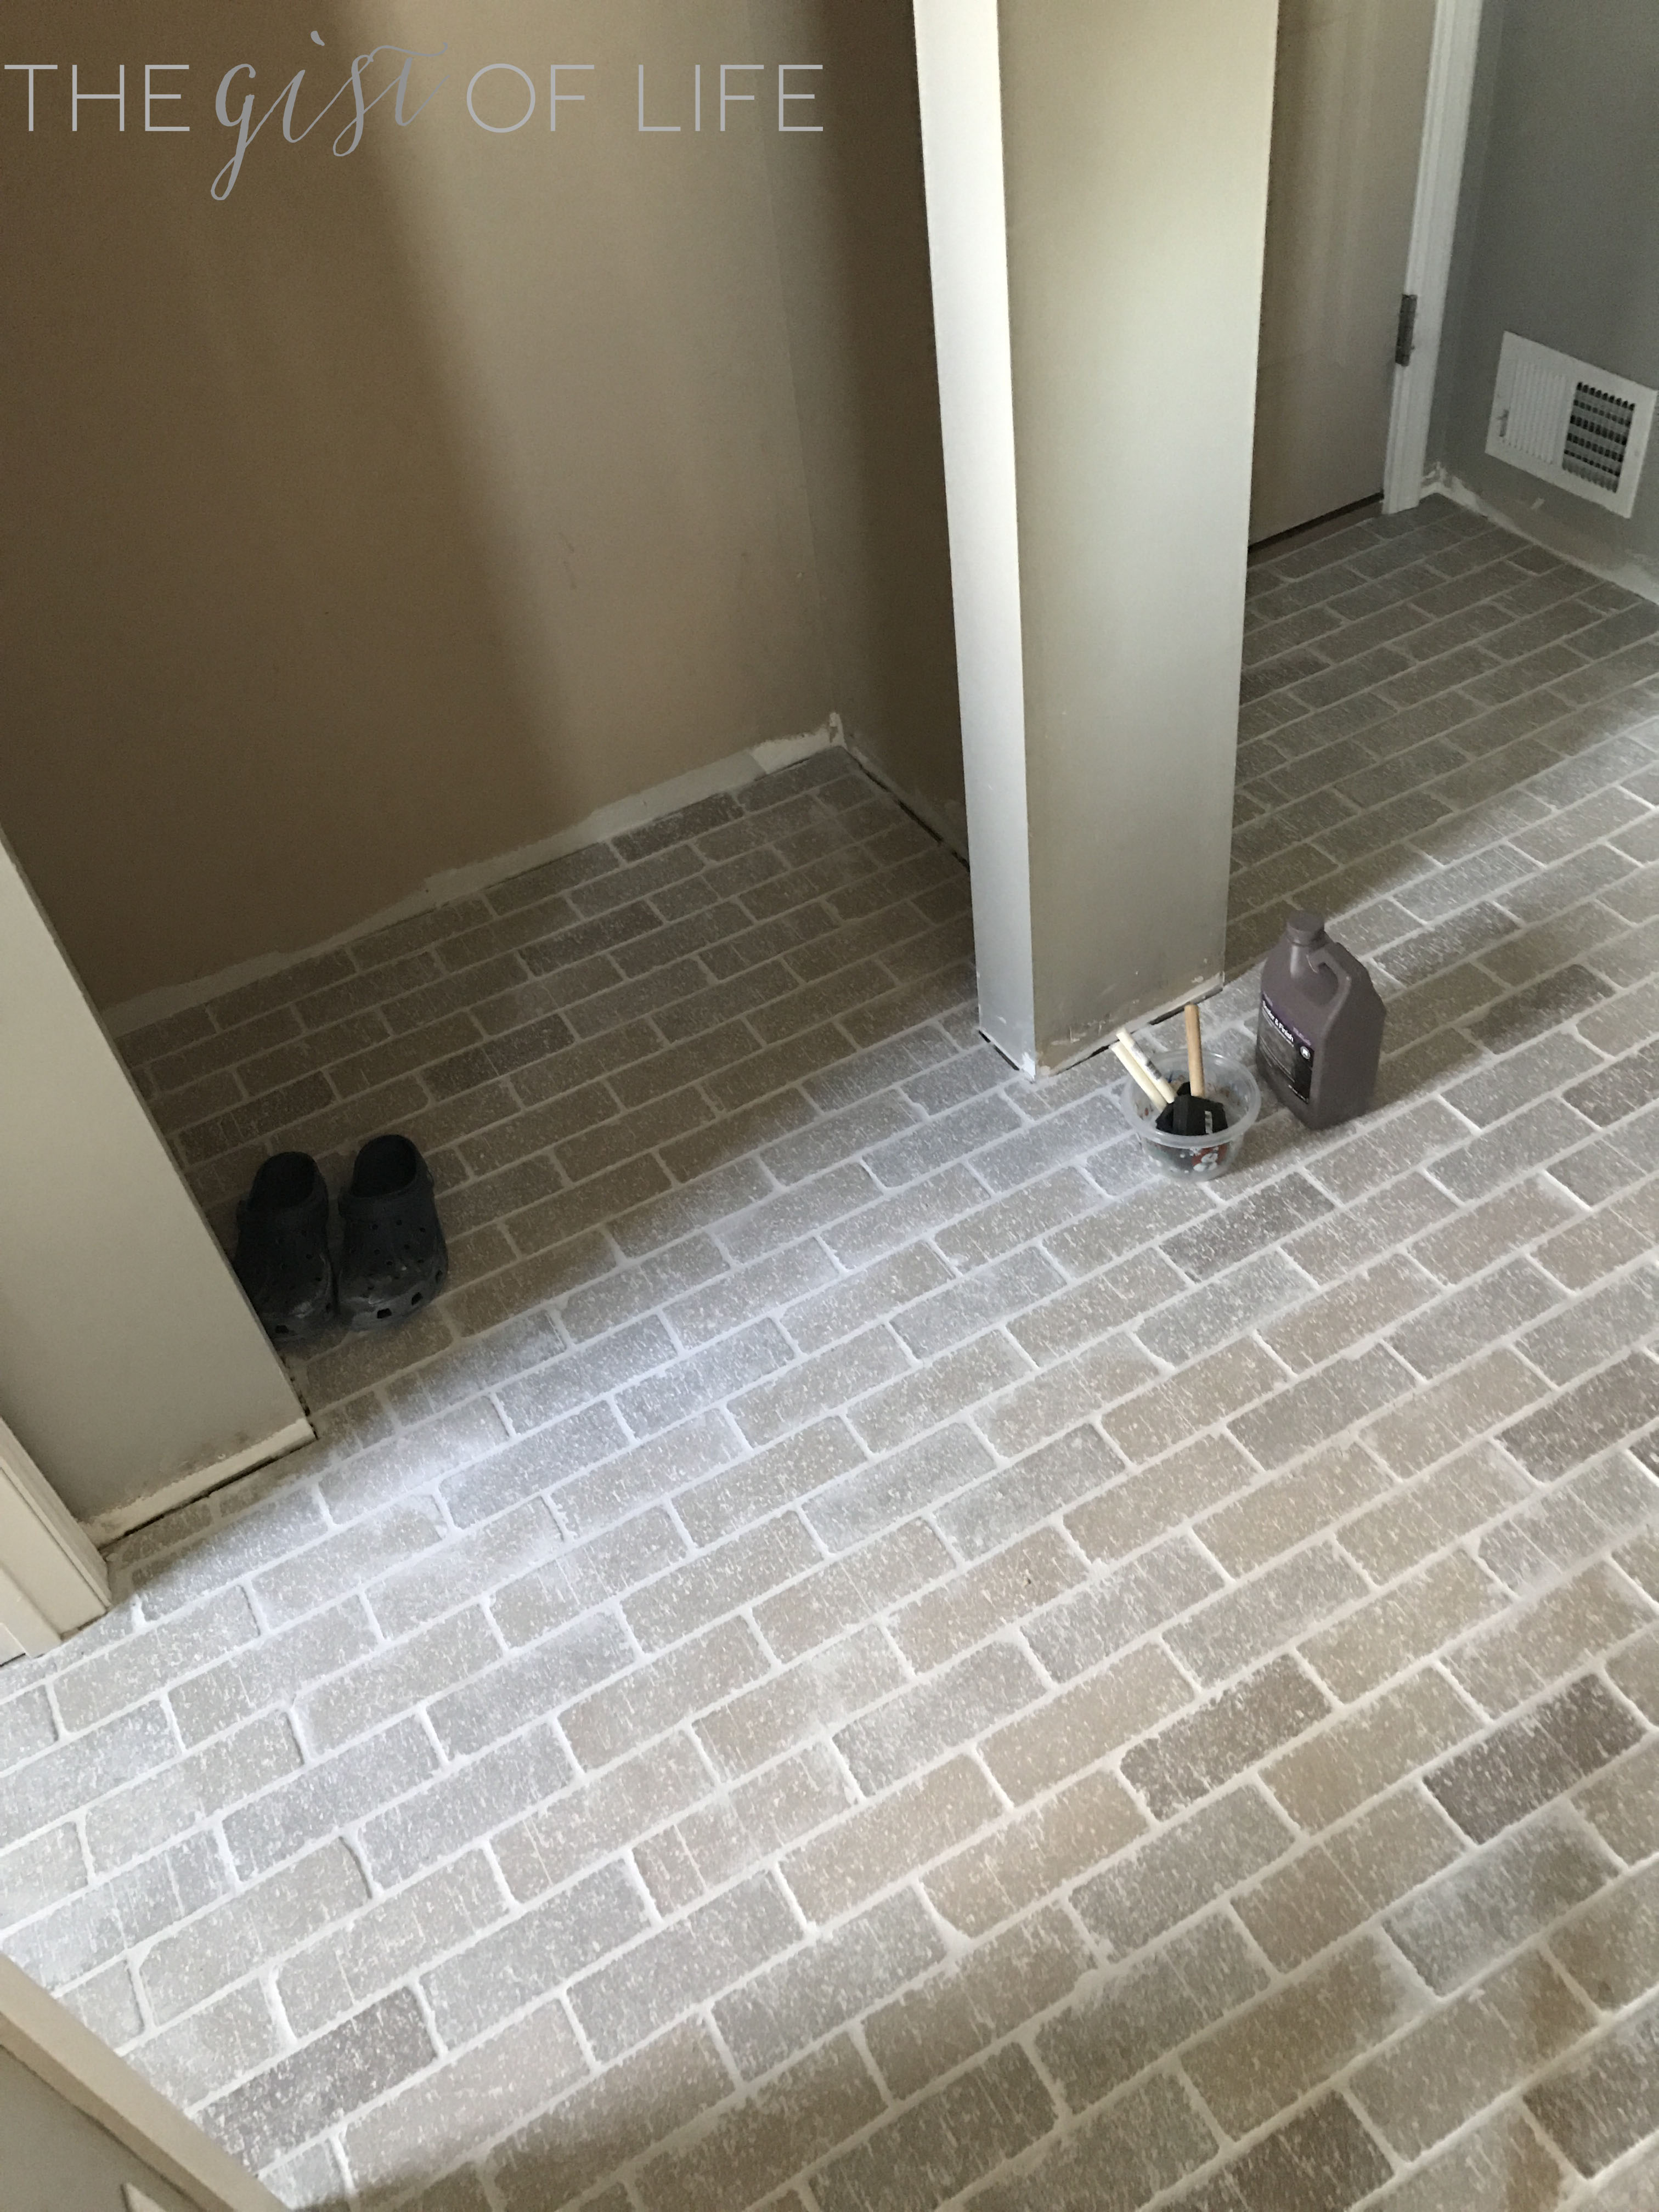
My other job in this project was to search out and find a matte sealant to put over the brick once the grout was wiped down. It is an entry way after all, and there will be wet, muddy boots stomping around once winter arrives, and we needed to make it easy to clean, and practical.
I found this sealant & it did JUST what I wanted. I didn’t want any sort of shine or glisten to our brick, I wanted it to look as it should, and I was nervous about a sealant completely changing the look. But this is perfect! I will most likely have to apply it once every year just from daily ware, but I couldn’t be happier.
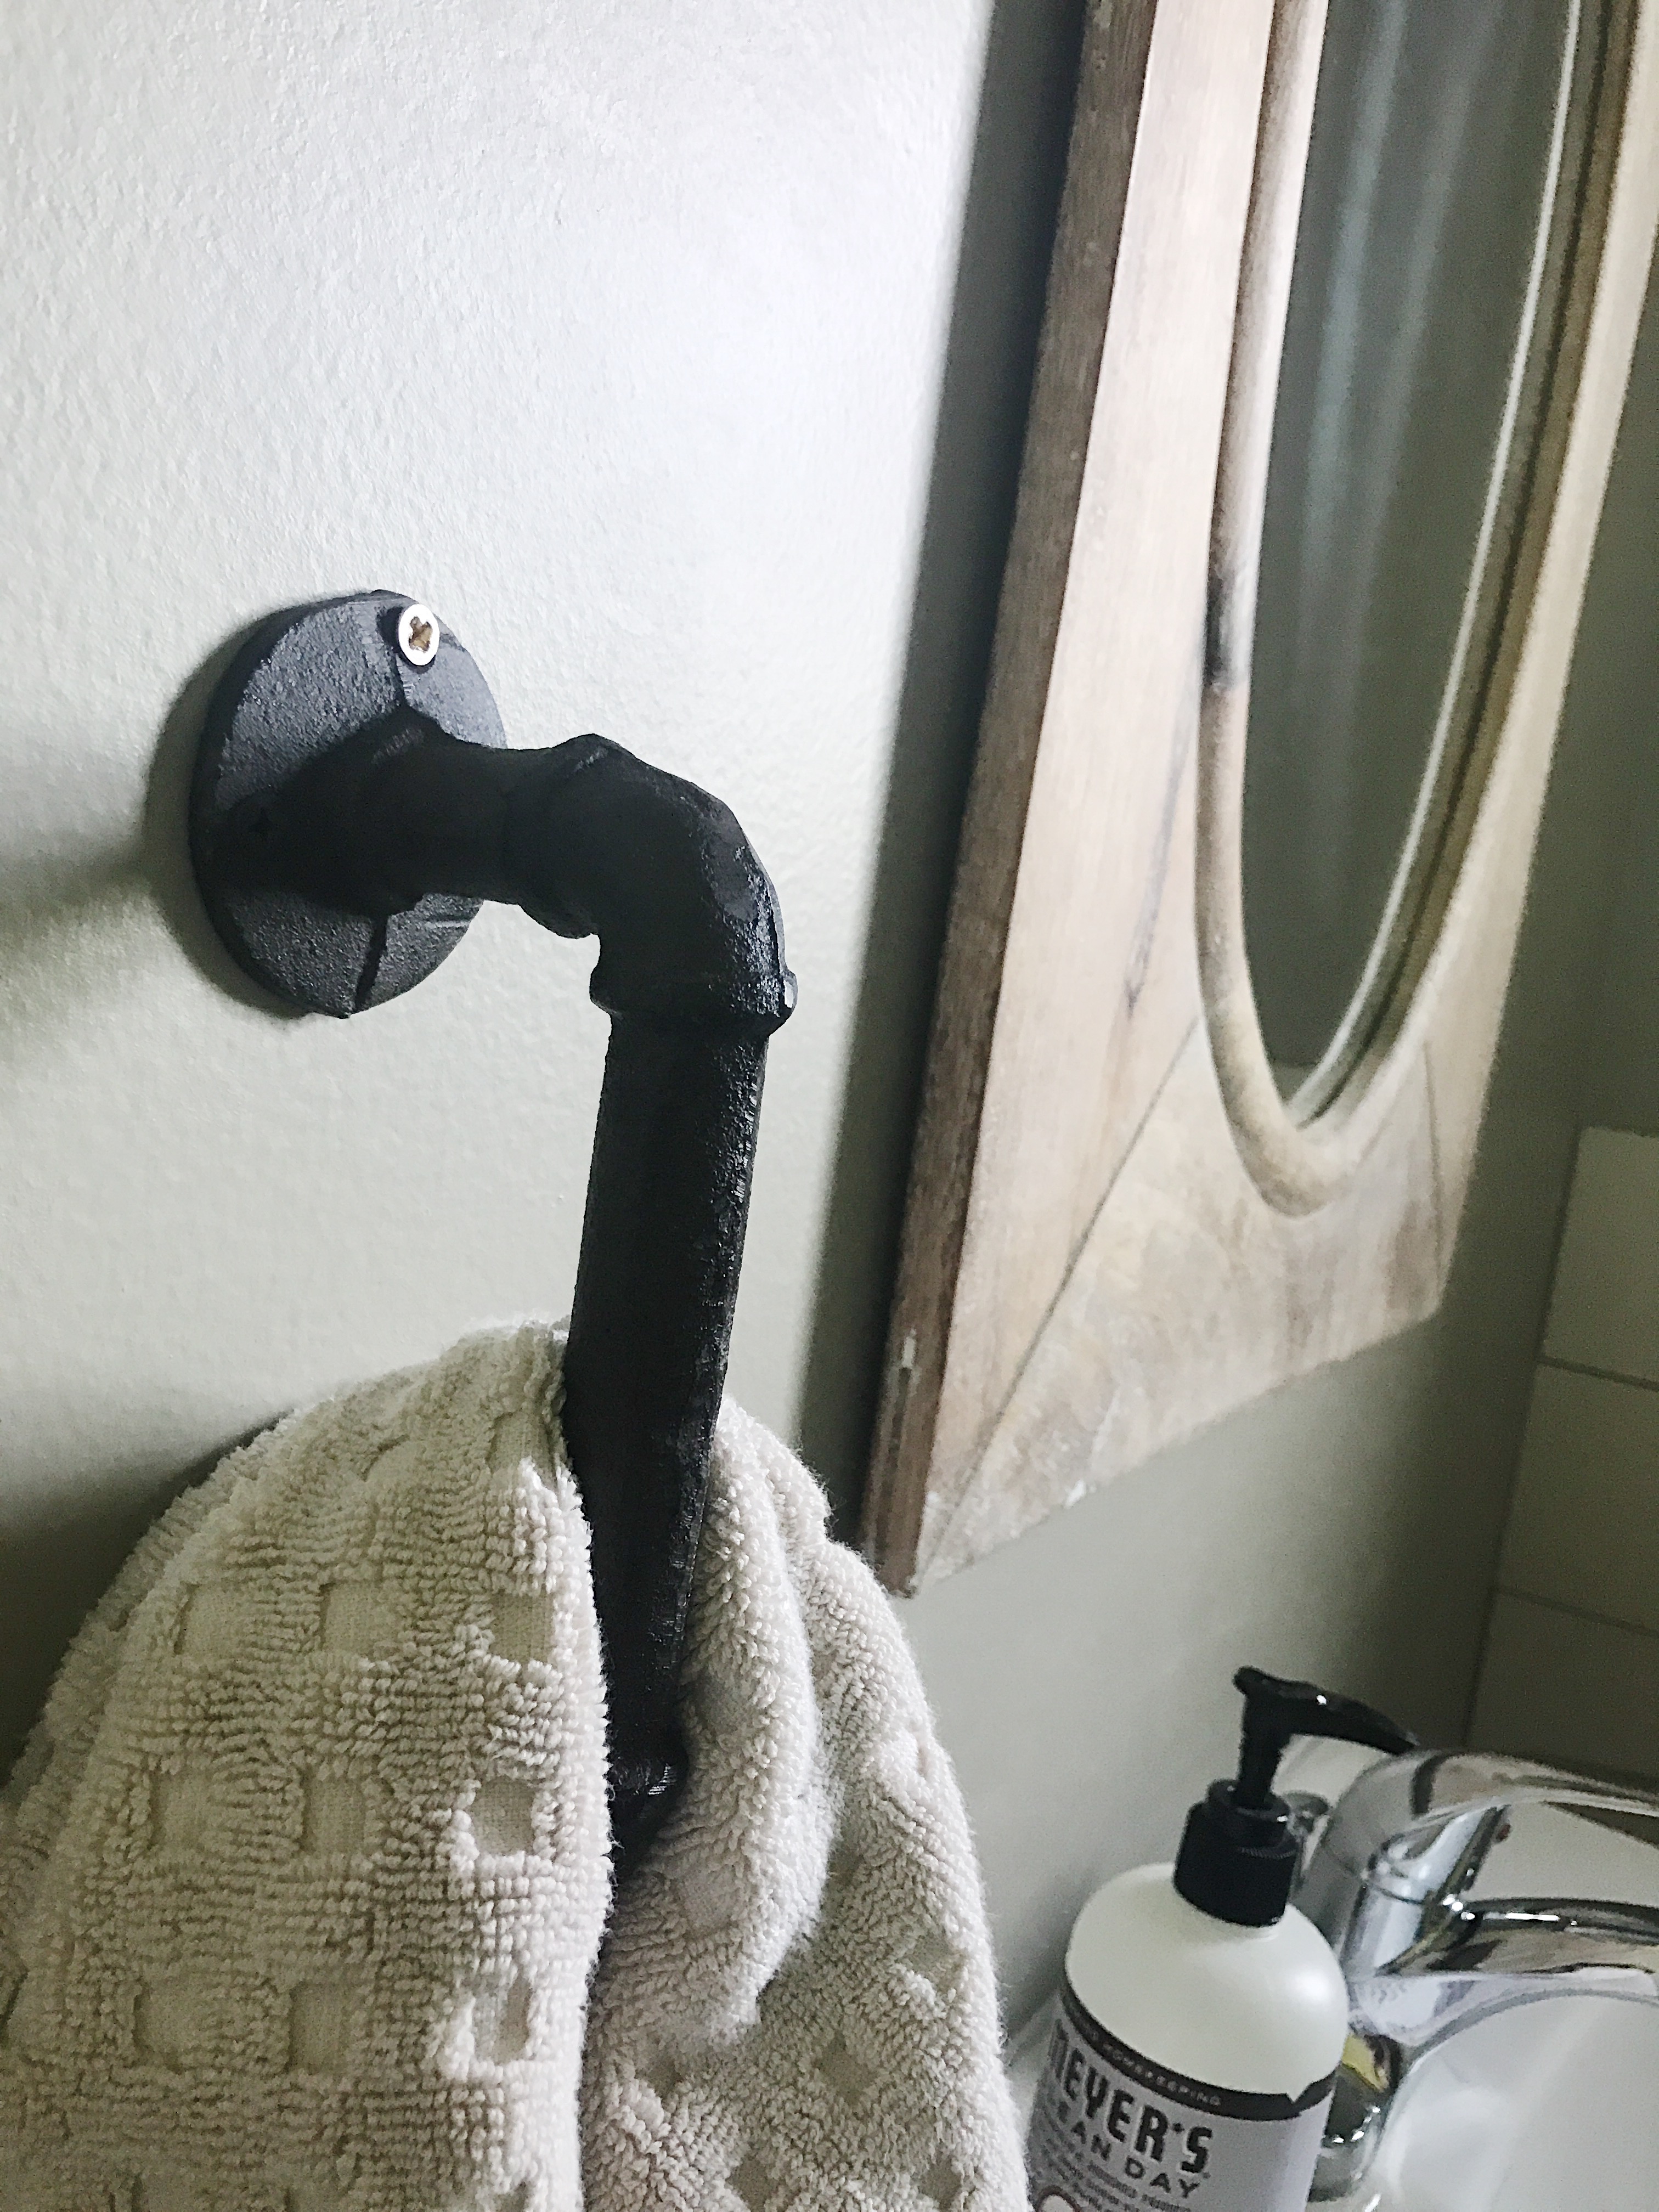
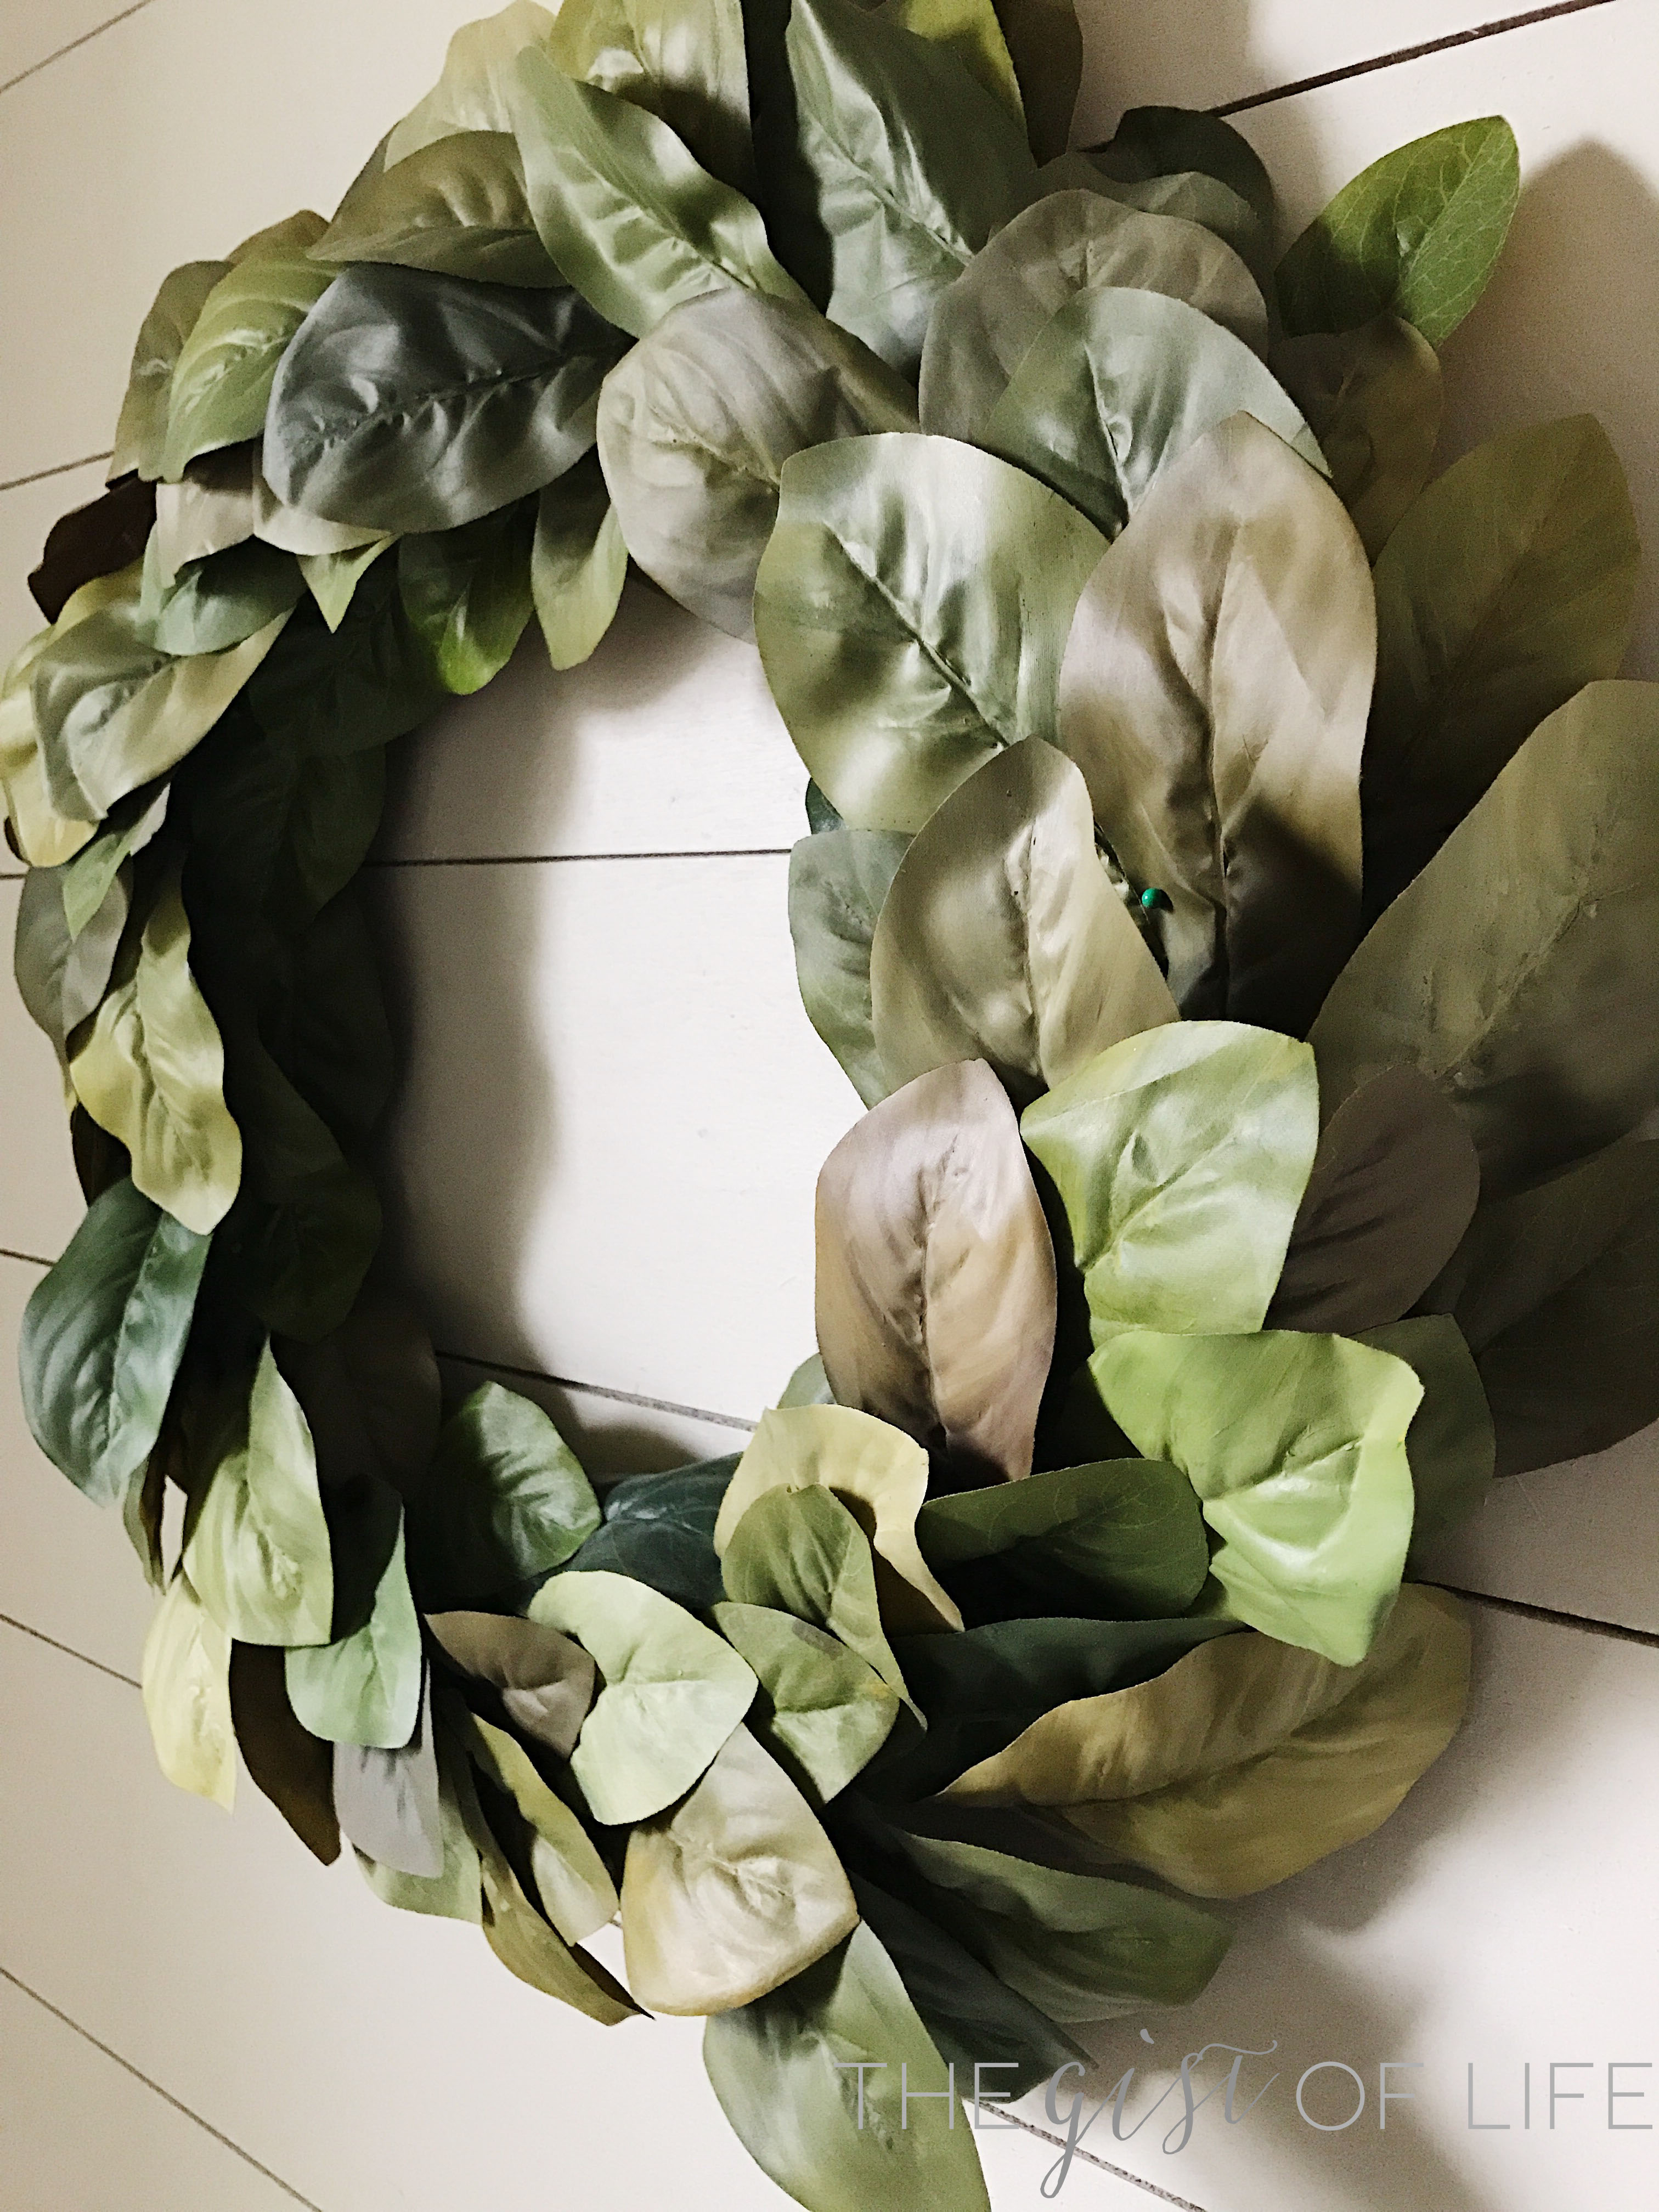
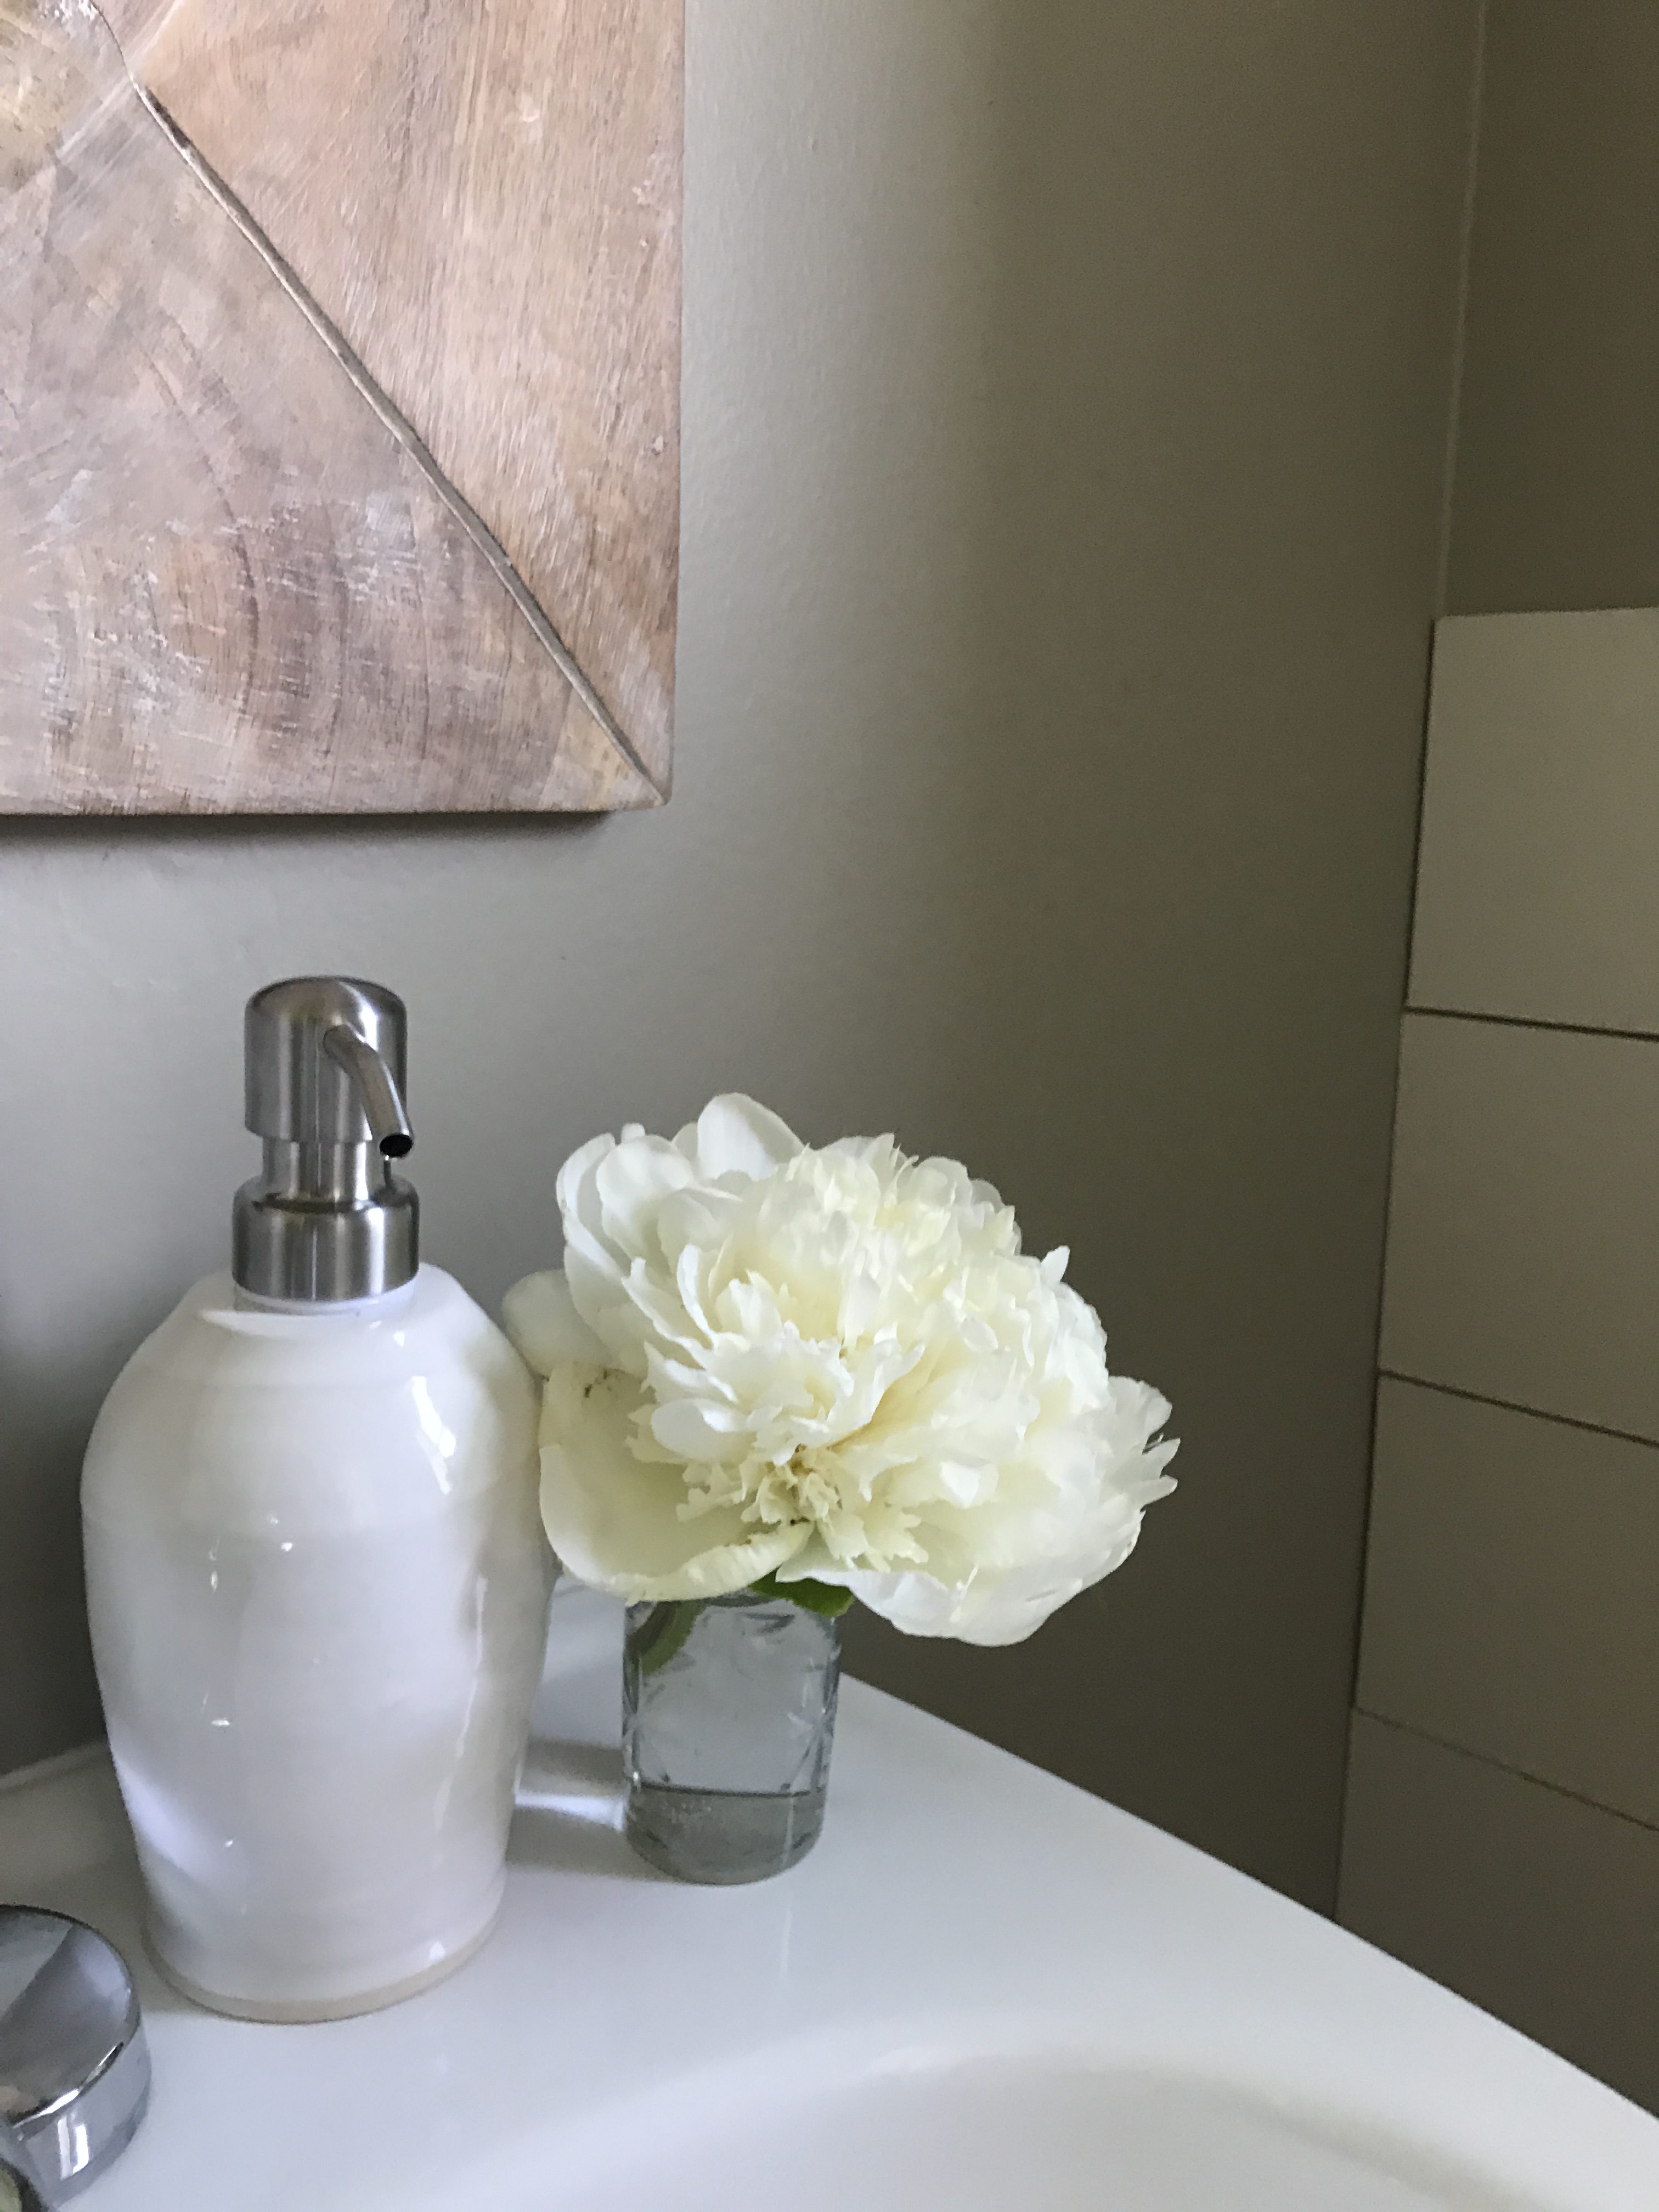
I’ve changed out the builder-grade mirror, over sink lighting, towel hook, and my mom MADE the magnolia wreath below.
Like I said, this room has turned into my favorite room in the entire house, because it’s all the style and character I love.
